
Choosing the right size is one of the most important parts of bringing a photograph home. Too small and a print gets lost on the wall. Too large and it can overwhelm the room. I built this planner so you can see exactly how my prints will look in your space before you order.
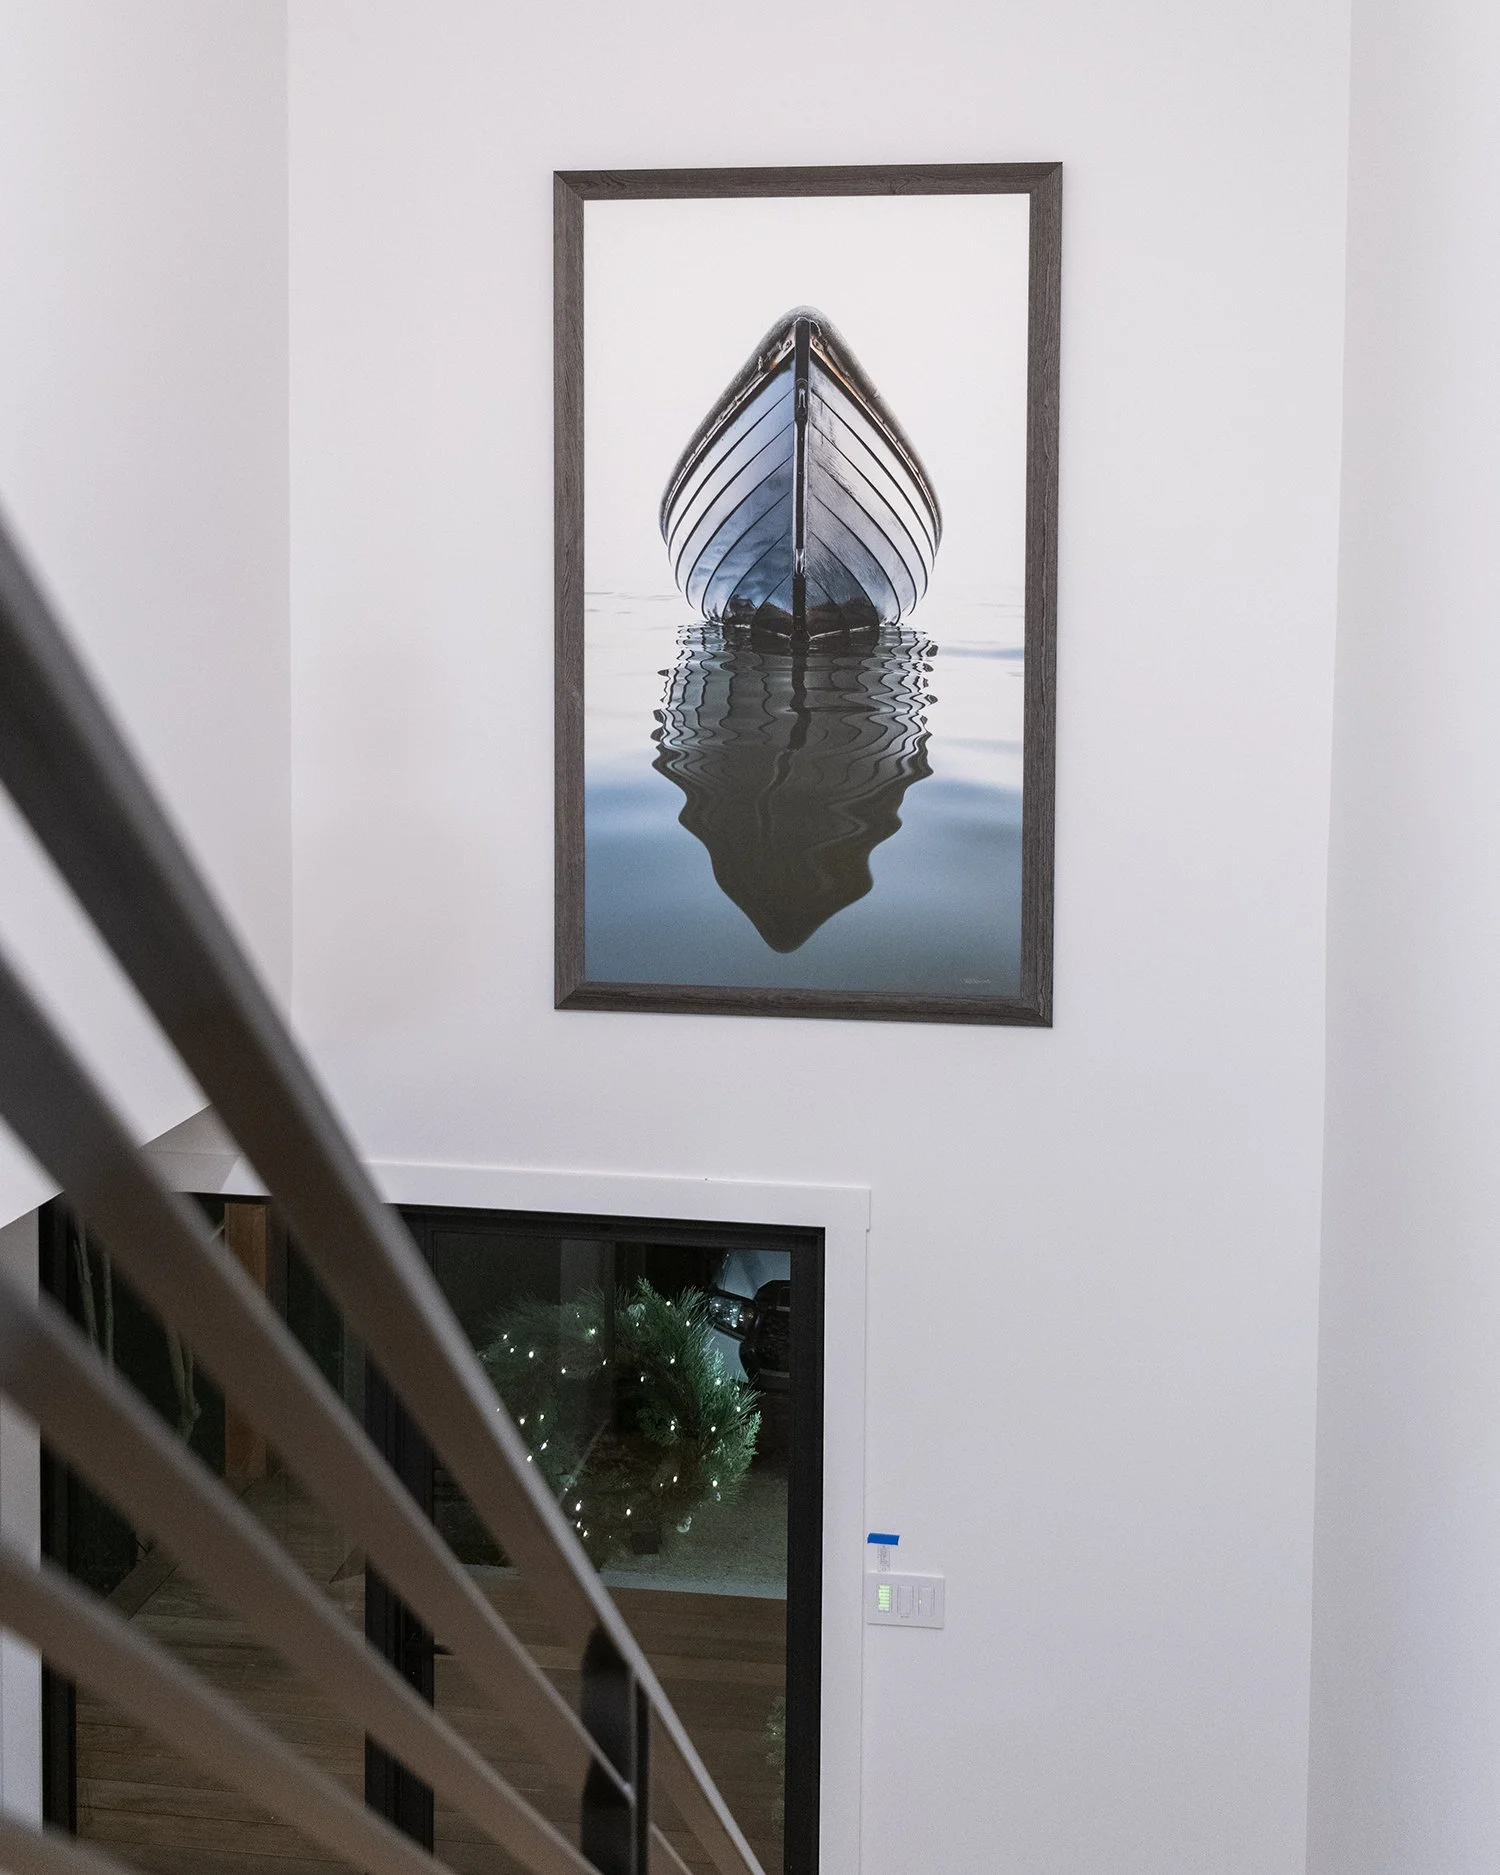
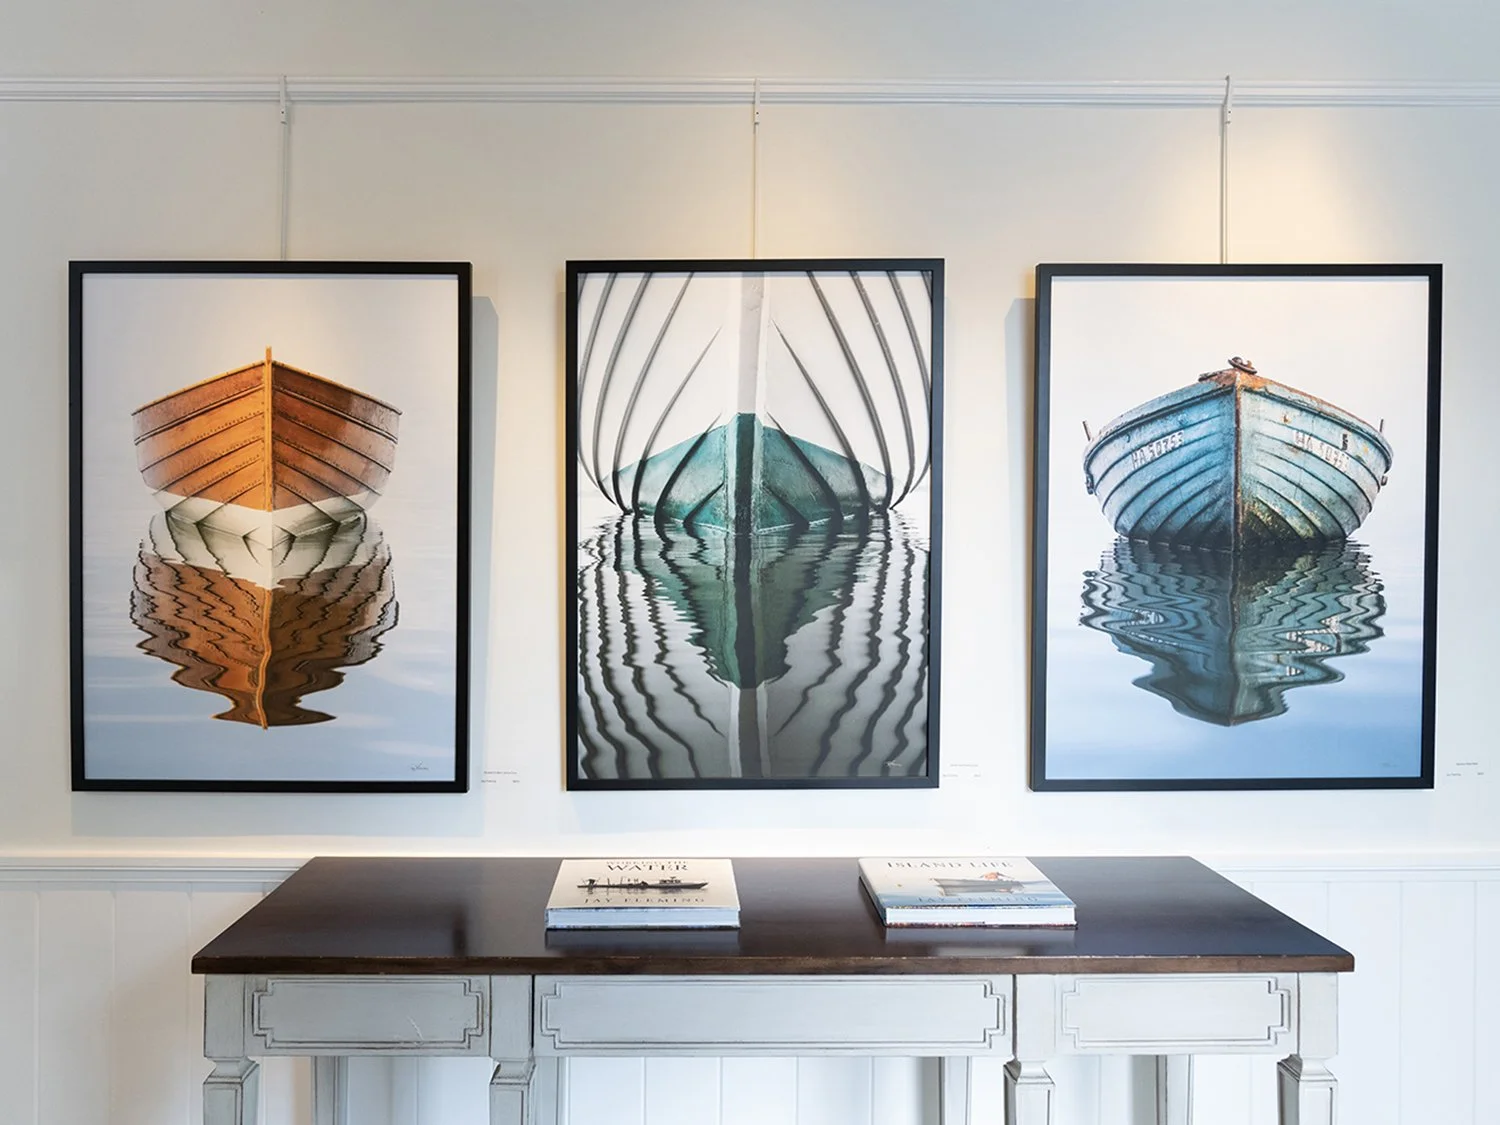
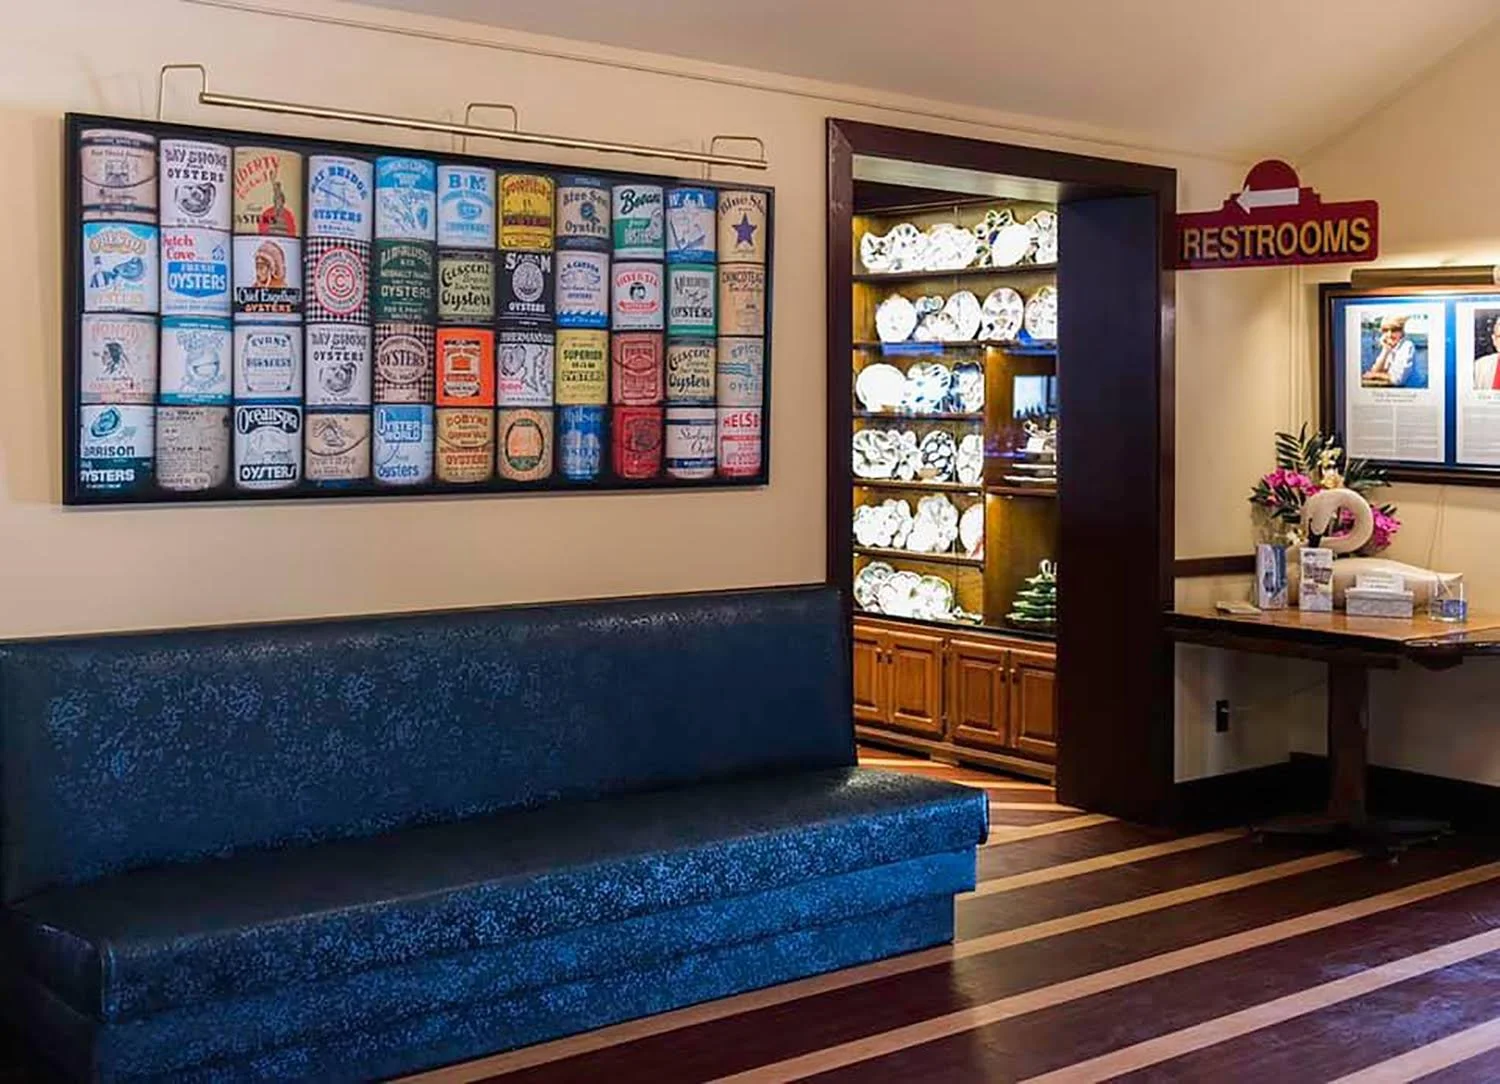
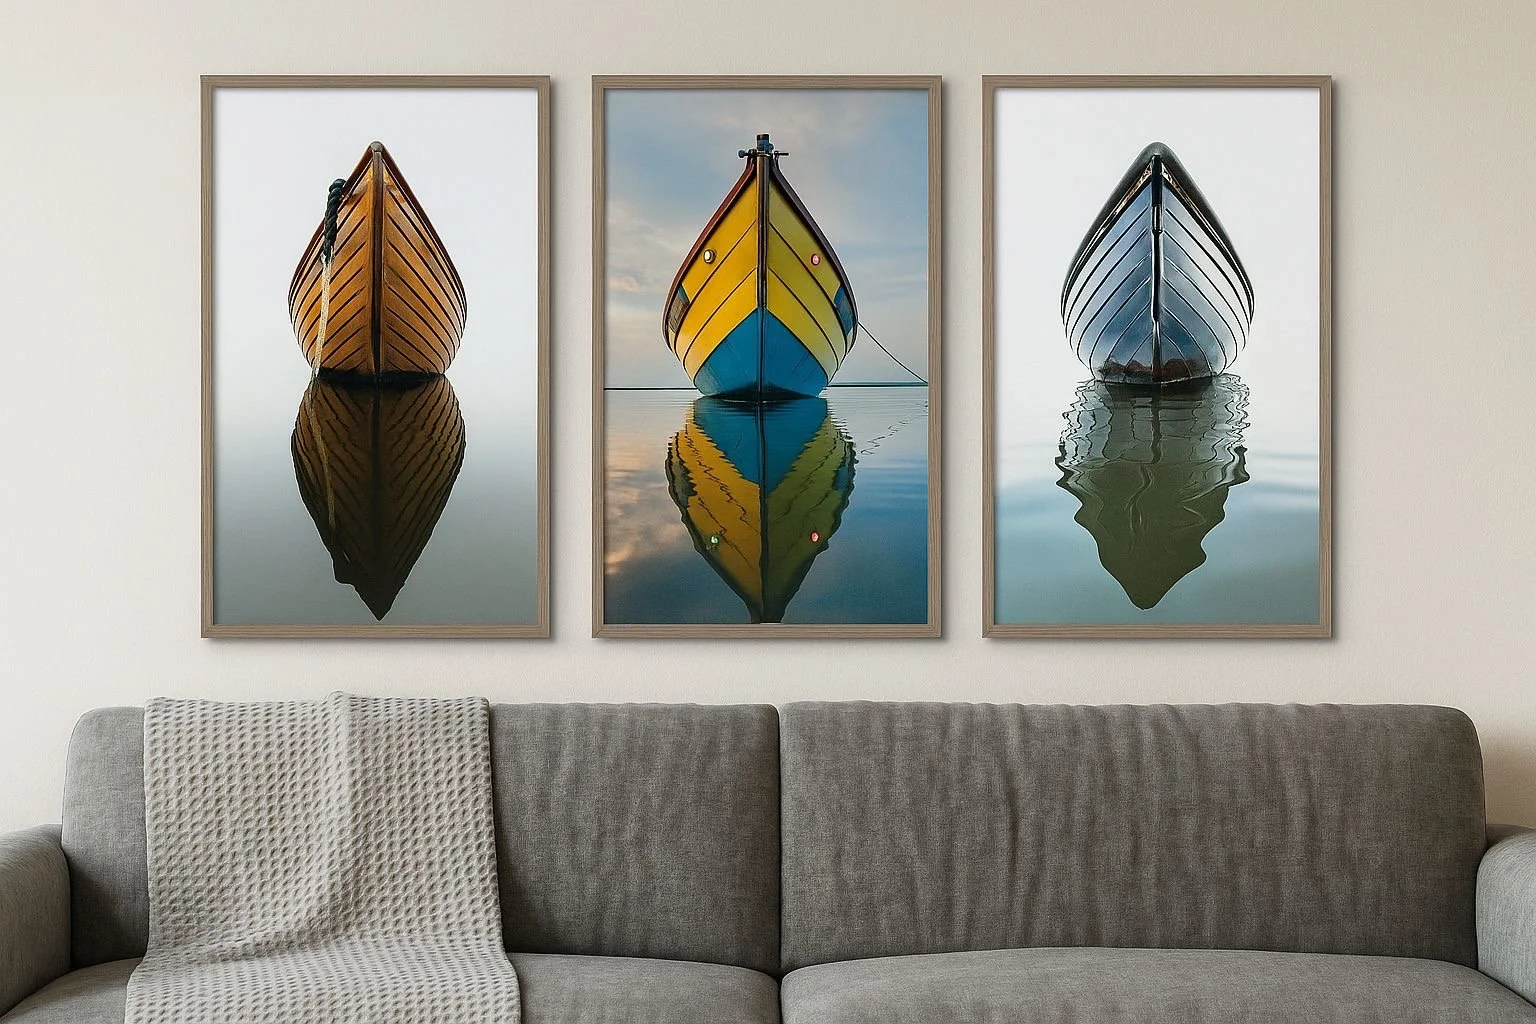
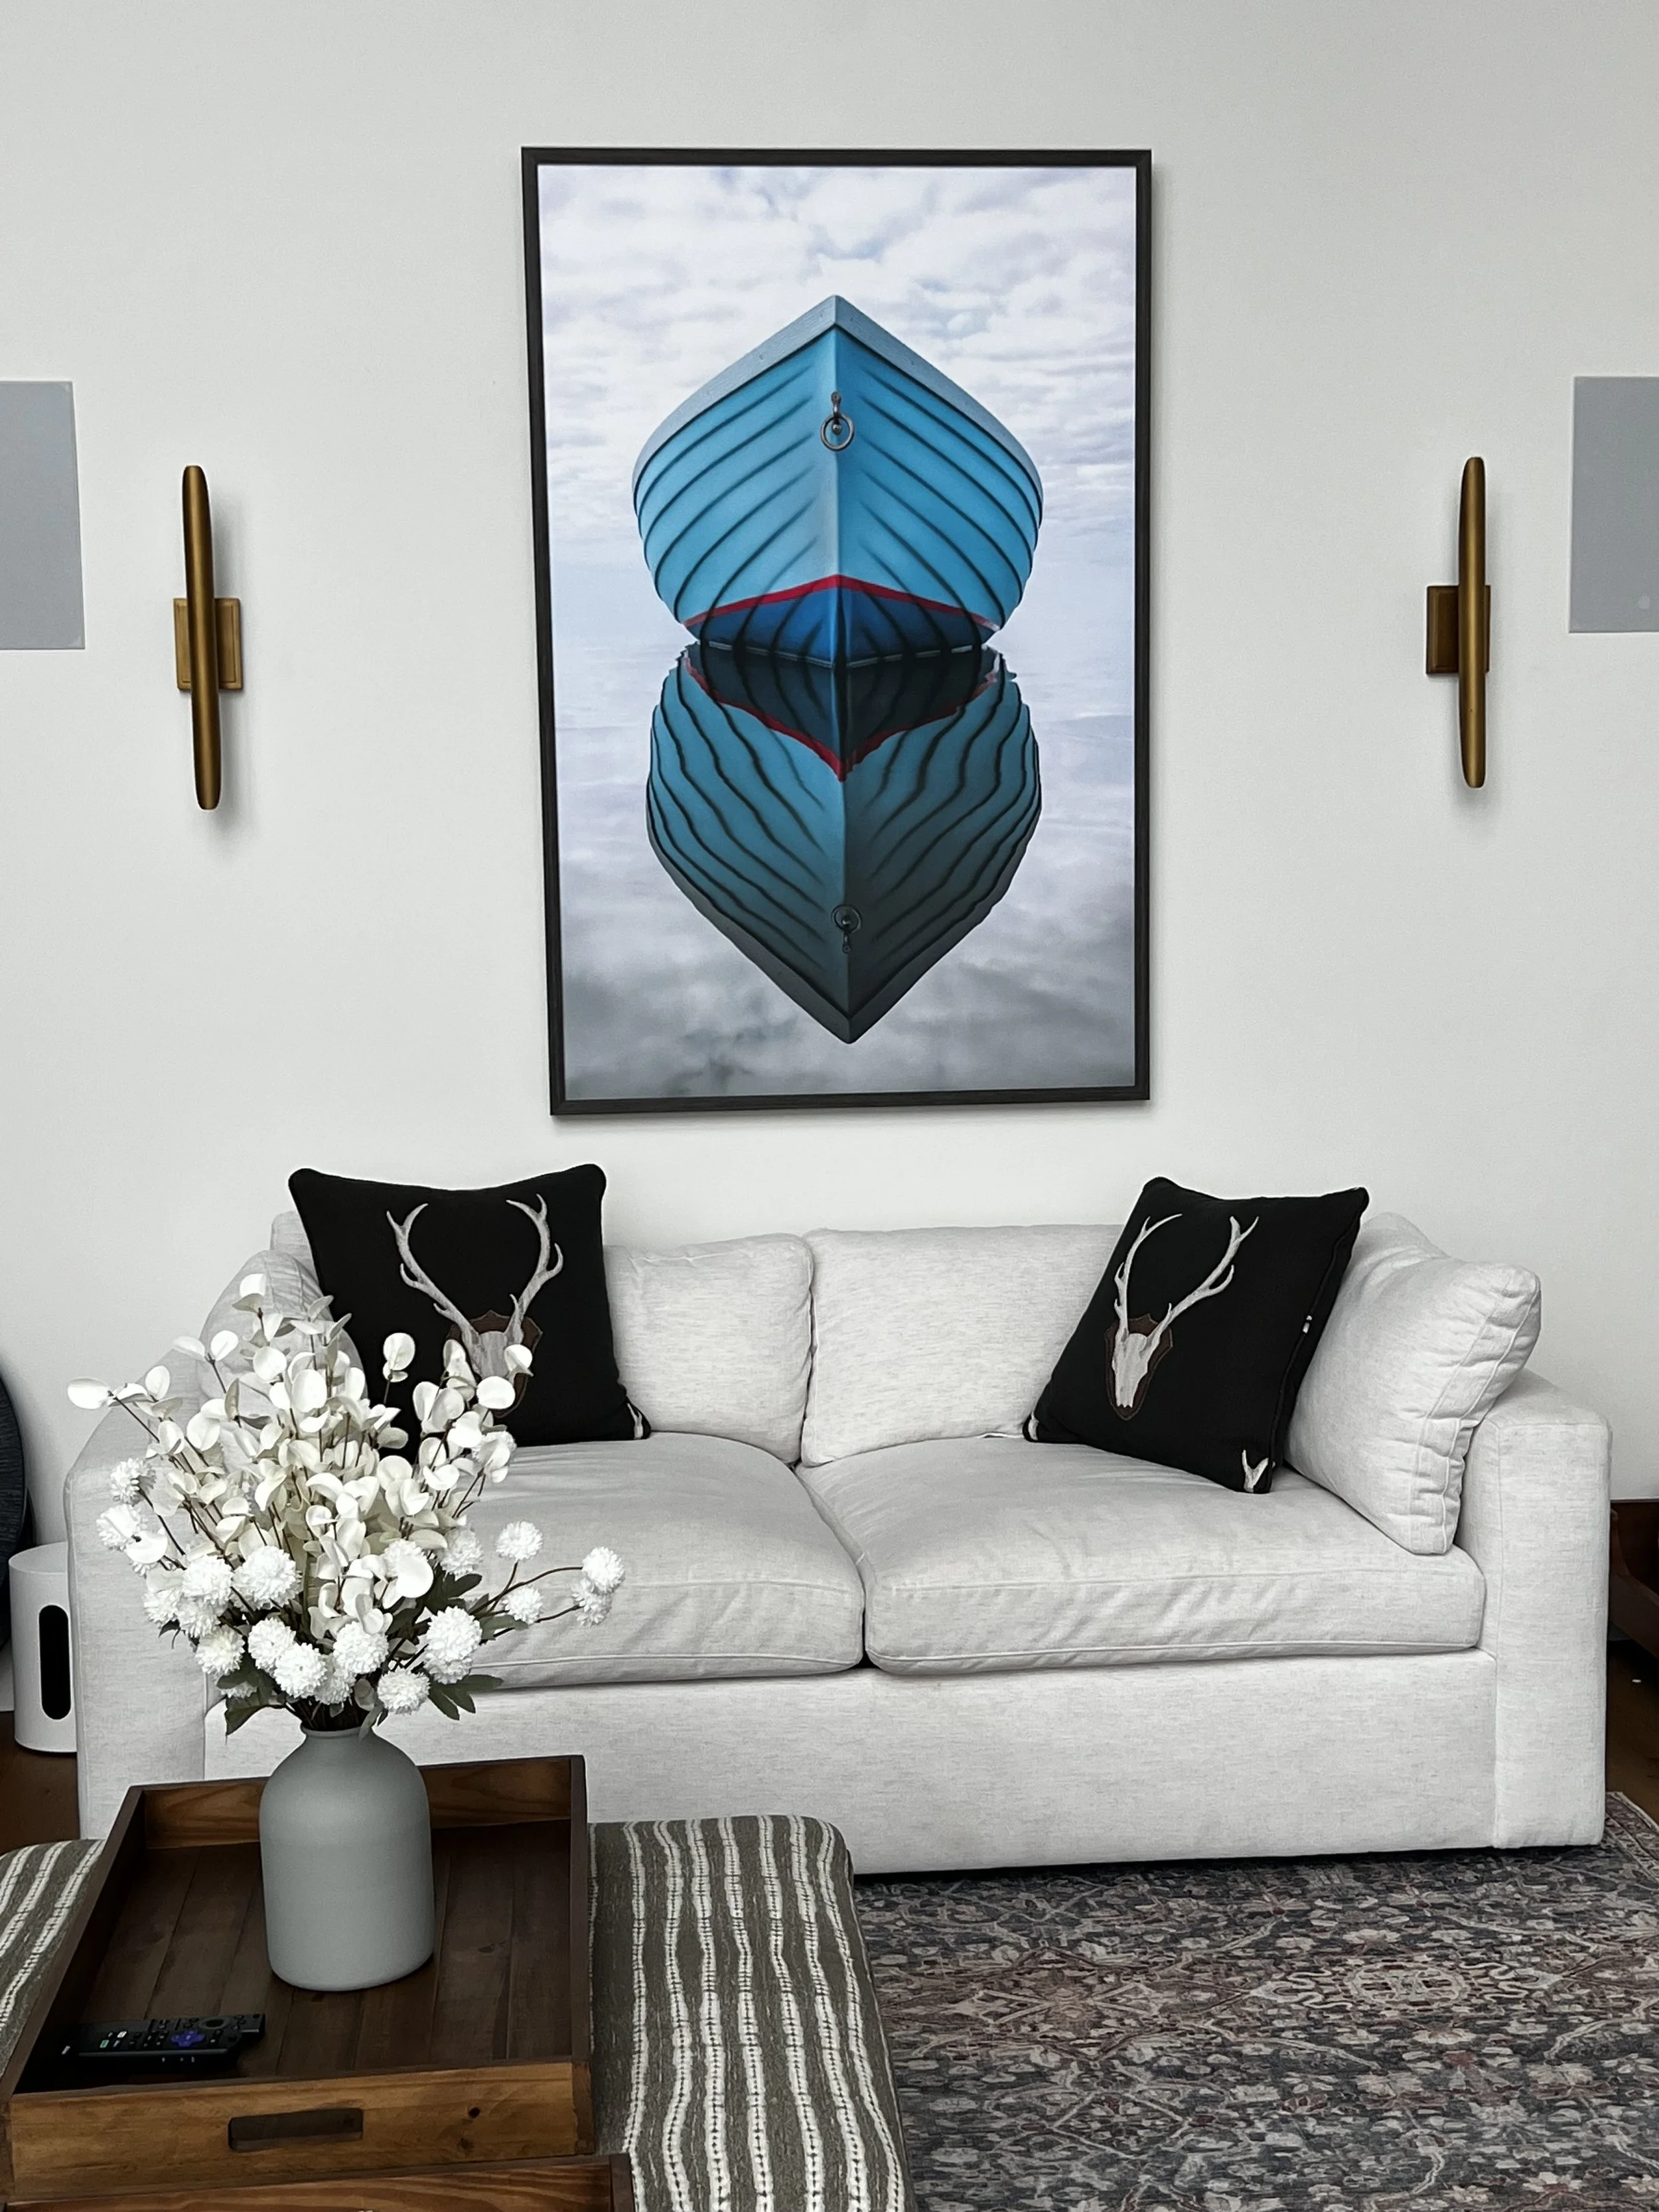
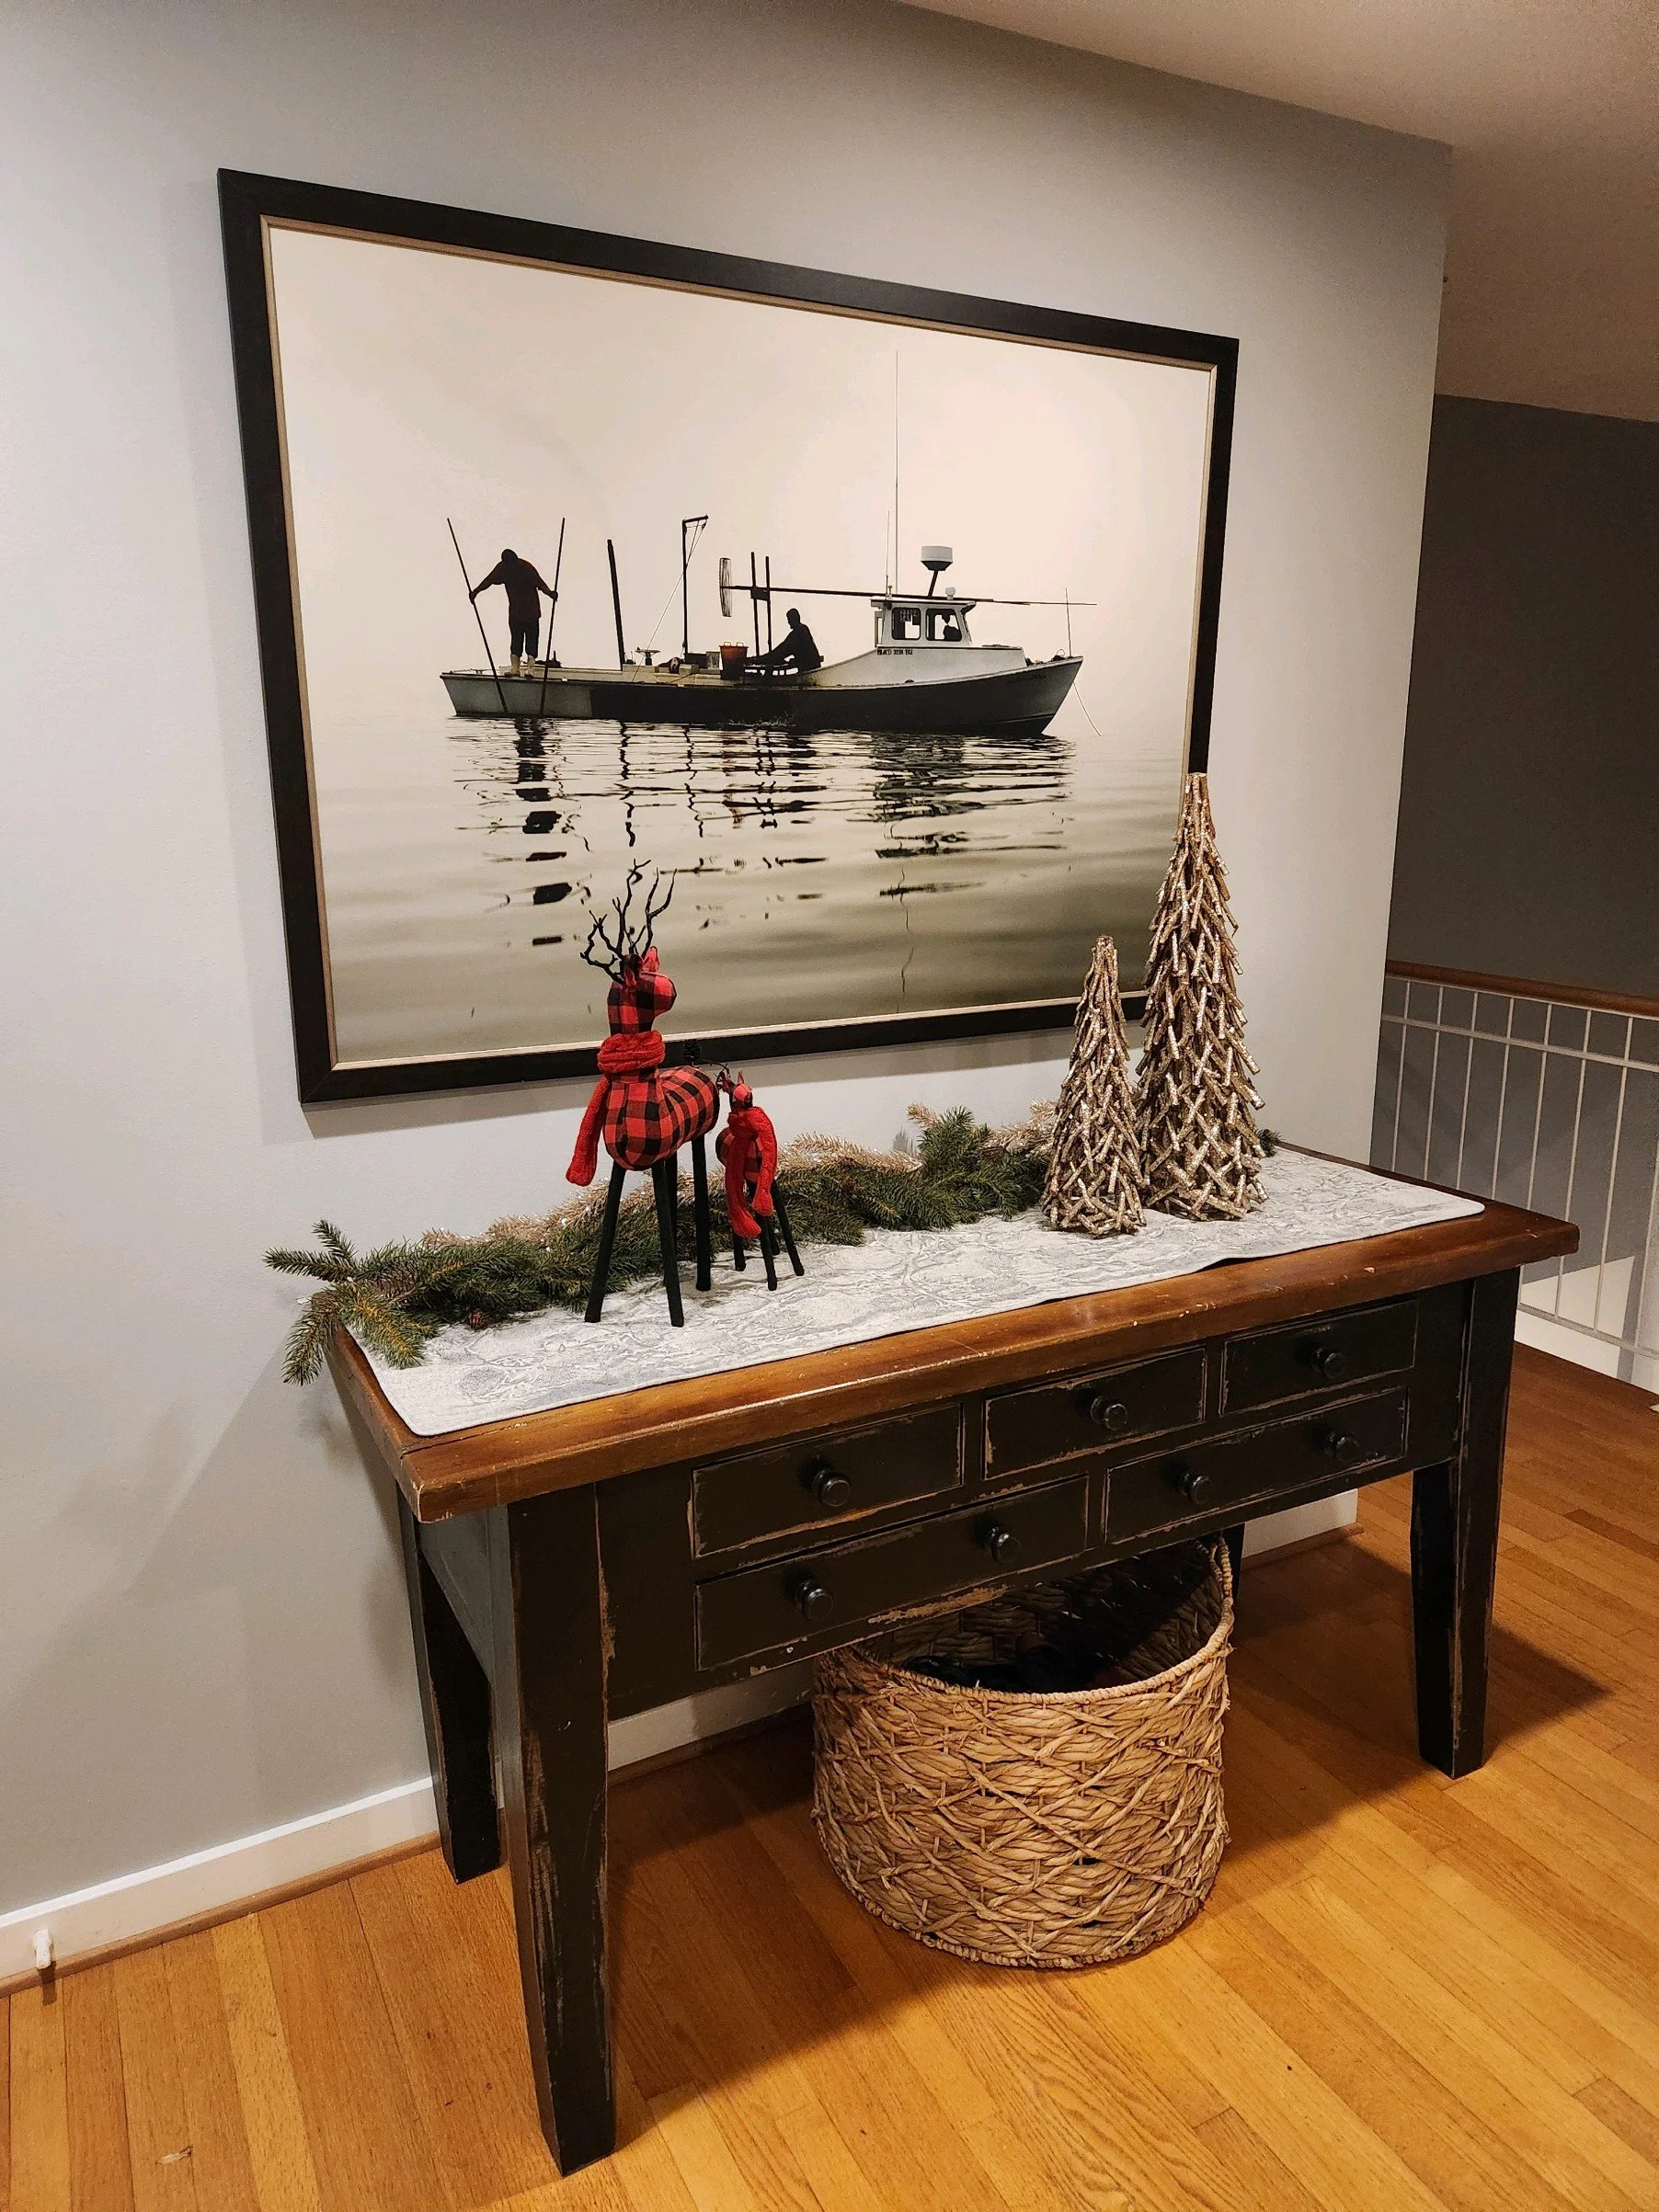
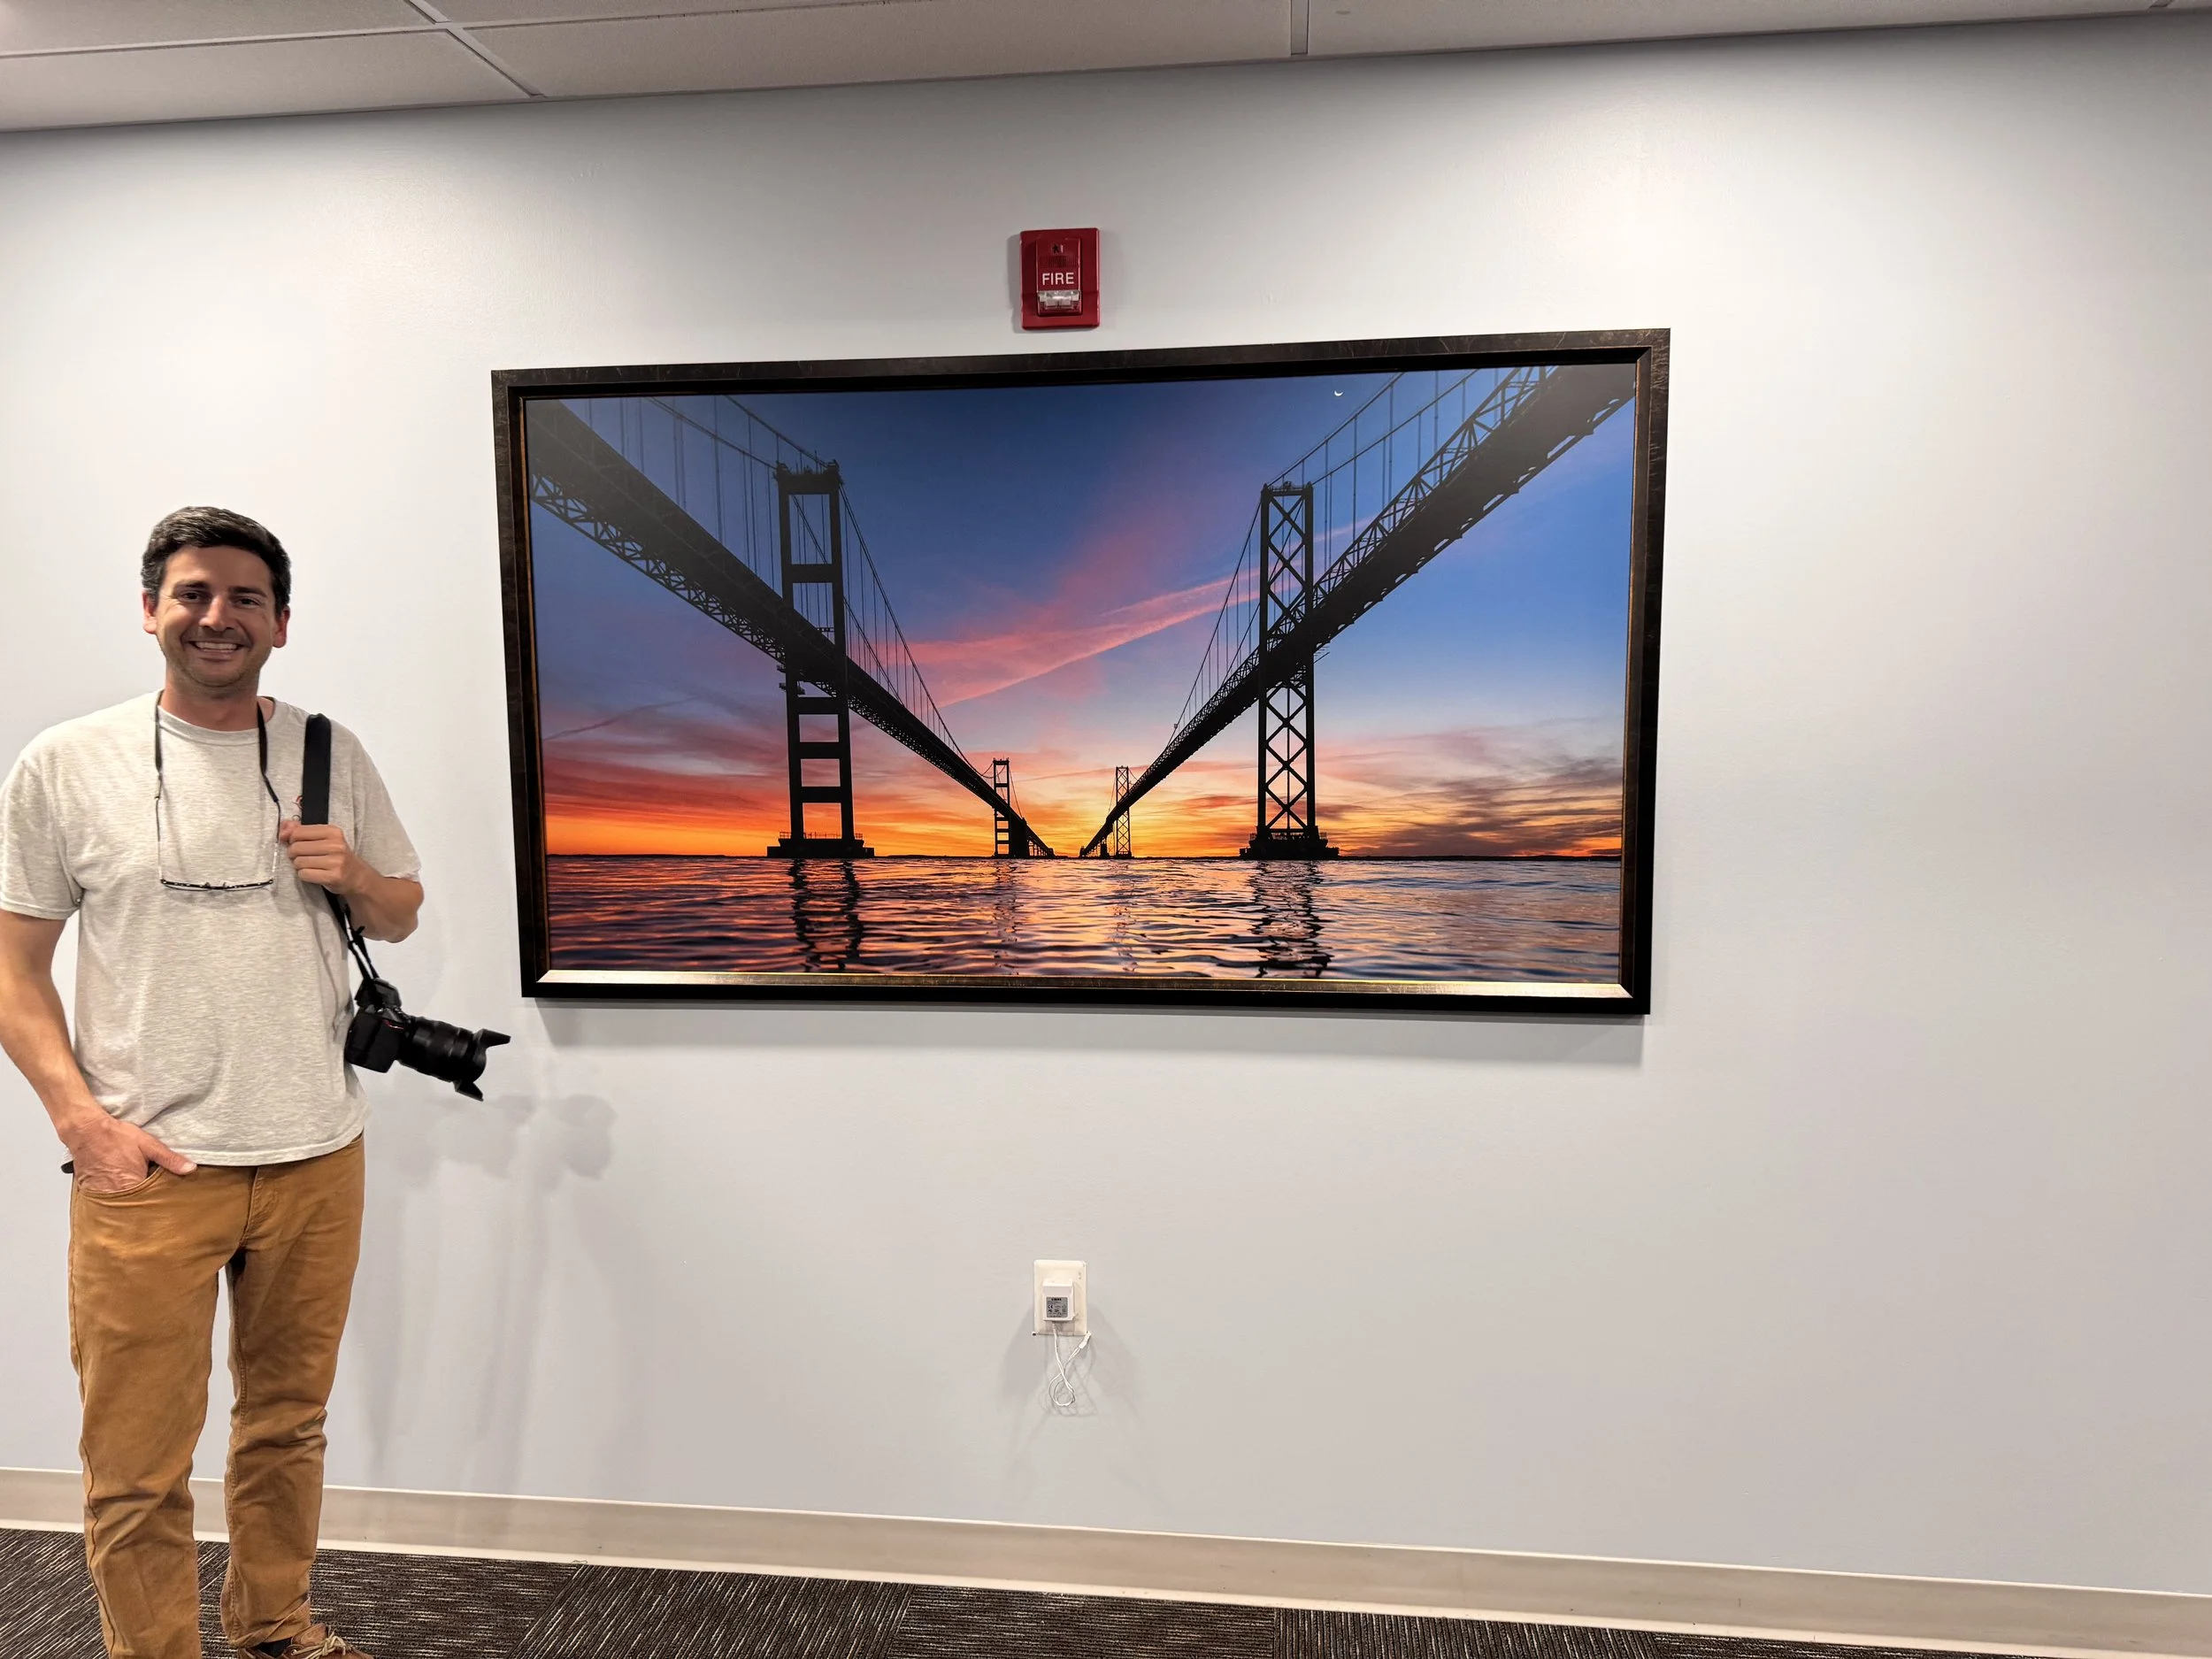
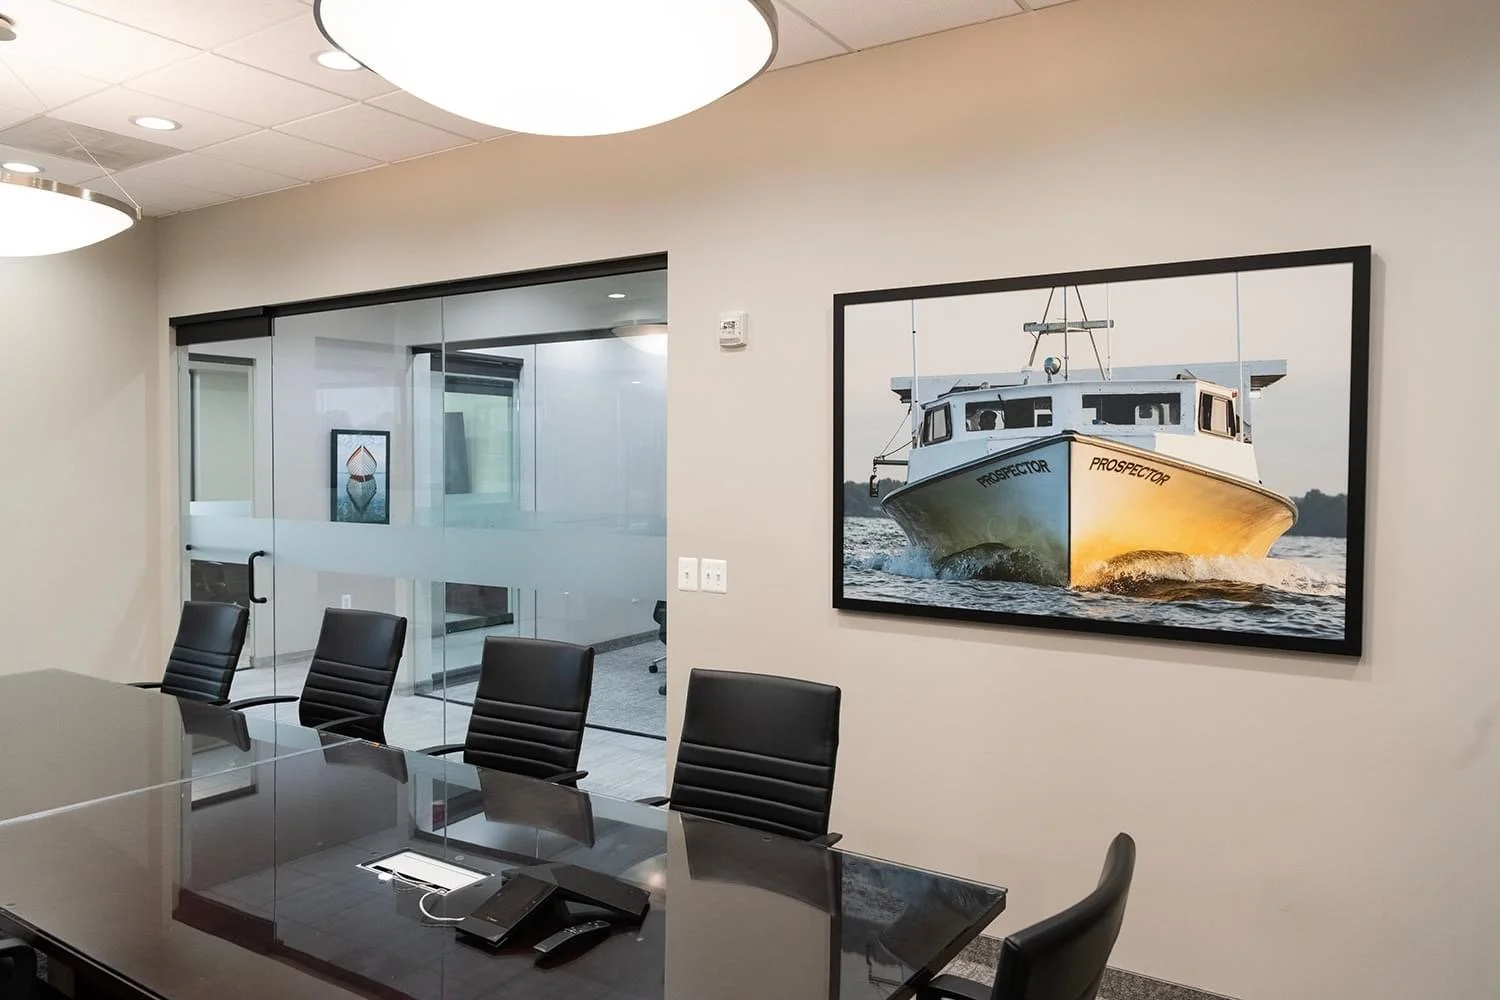
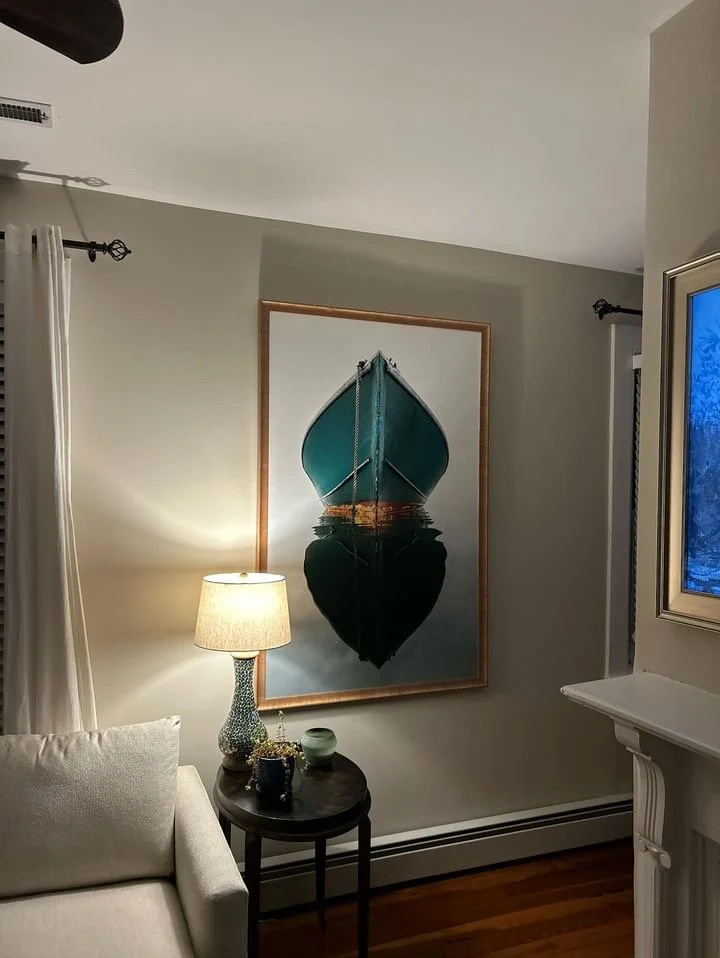
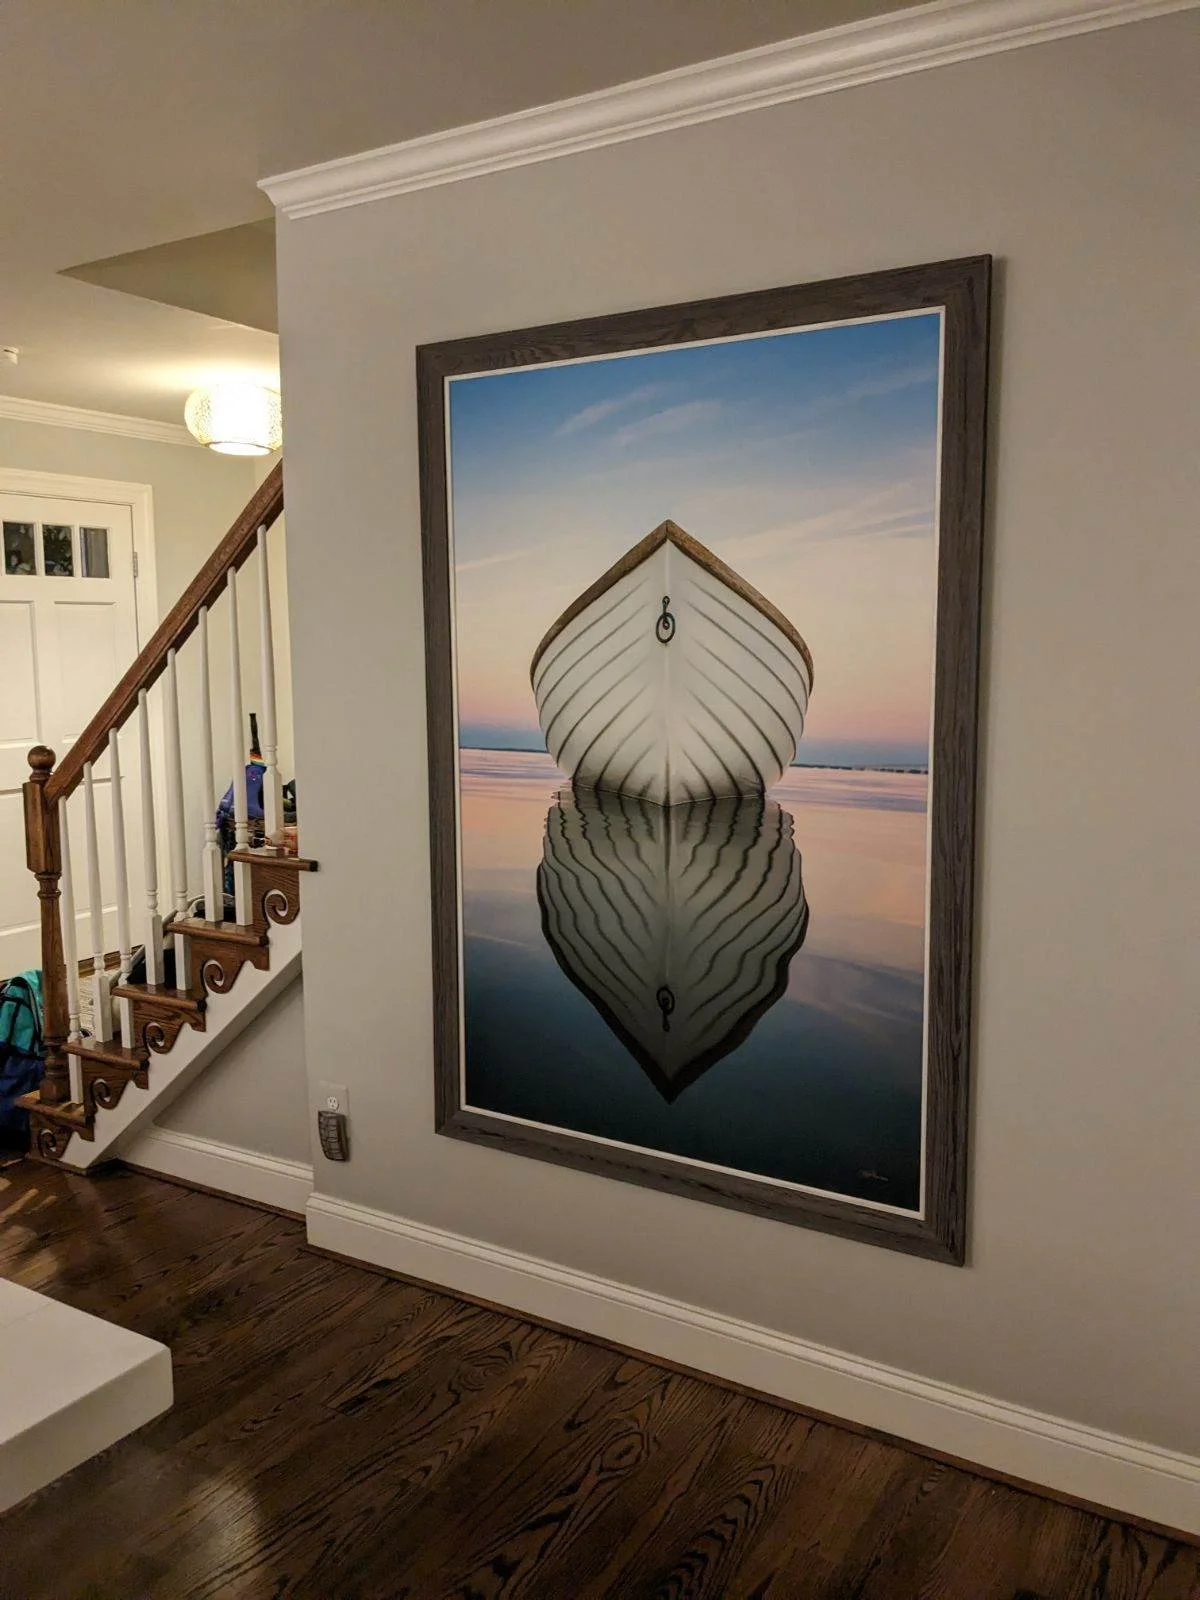
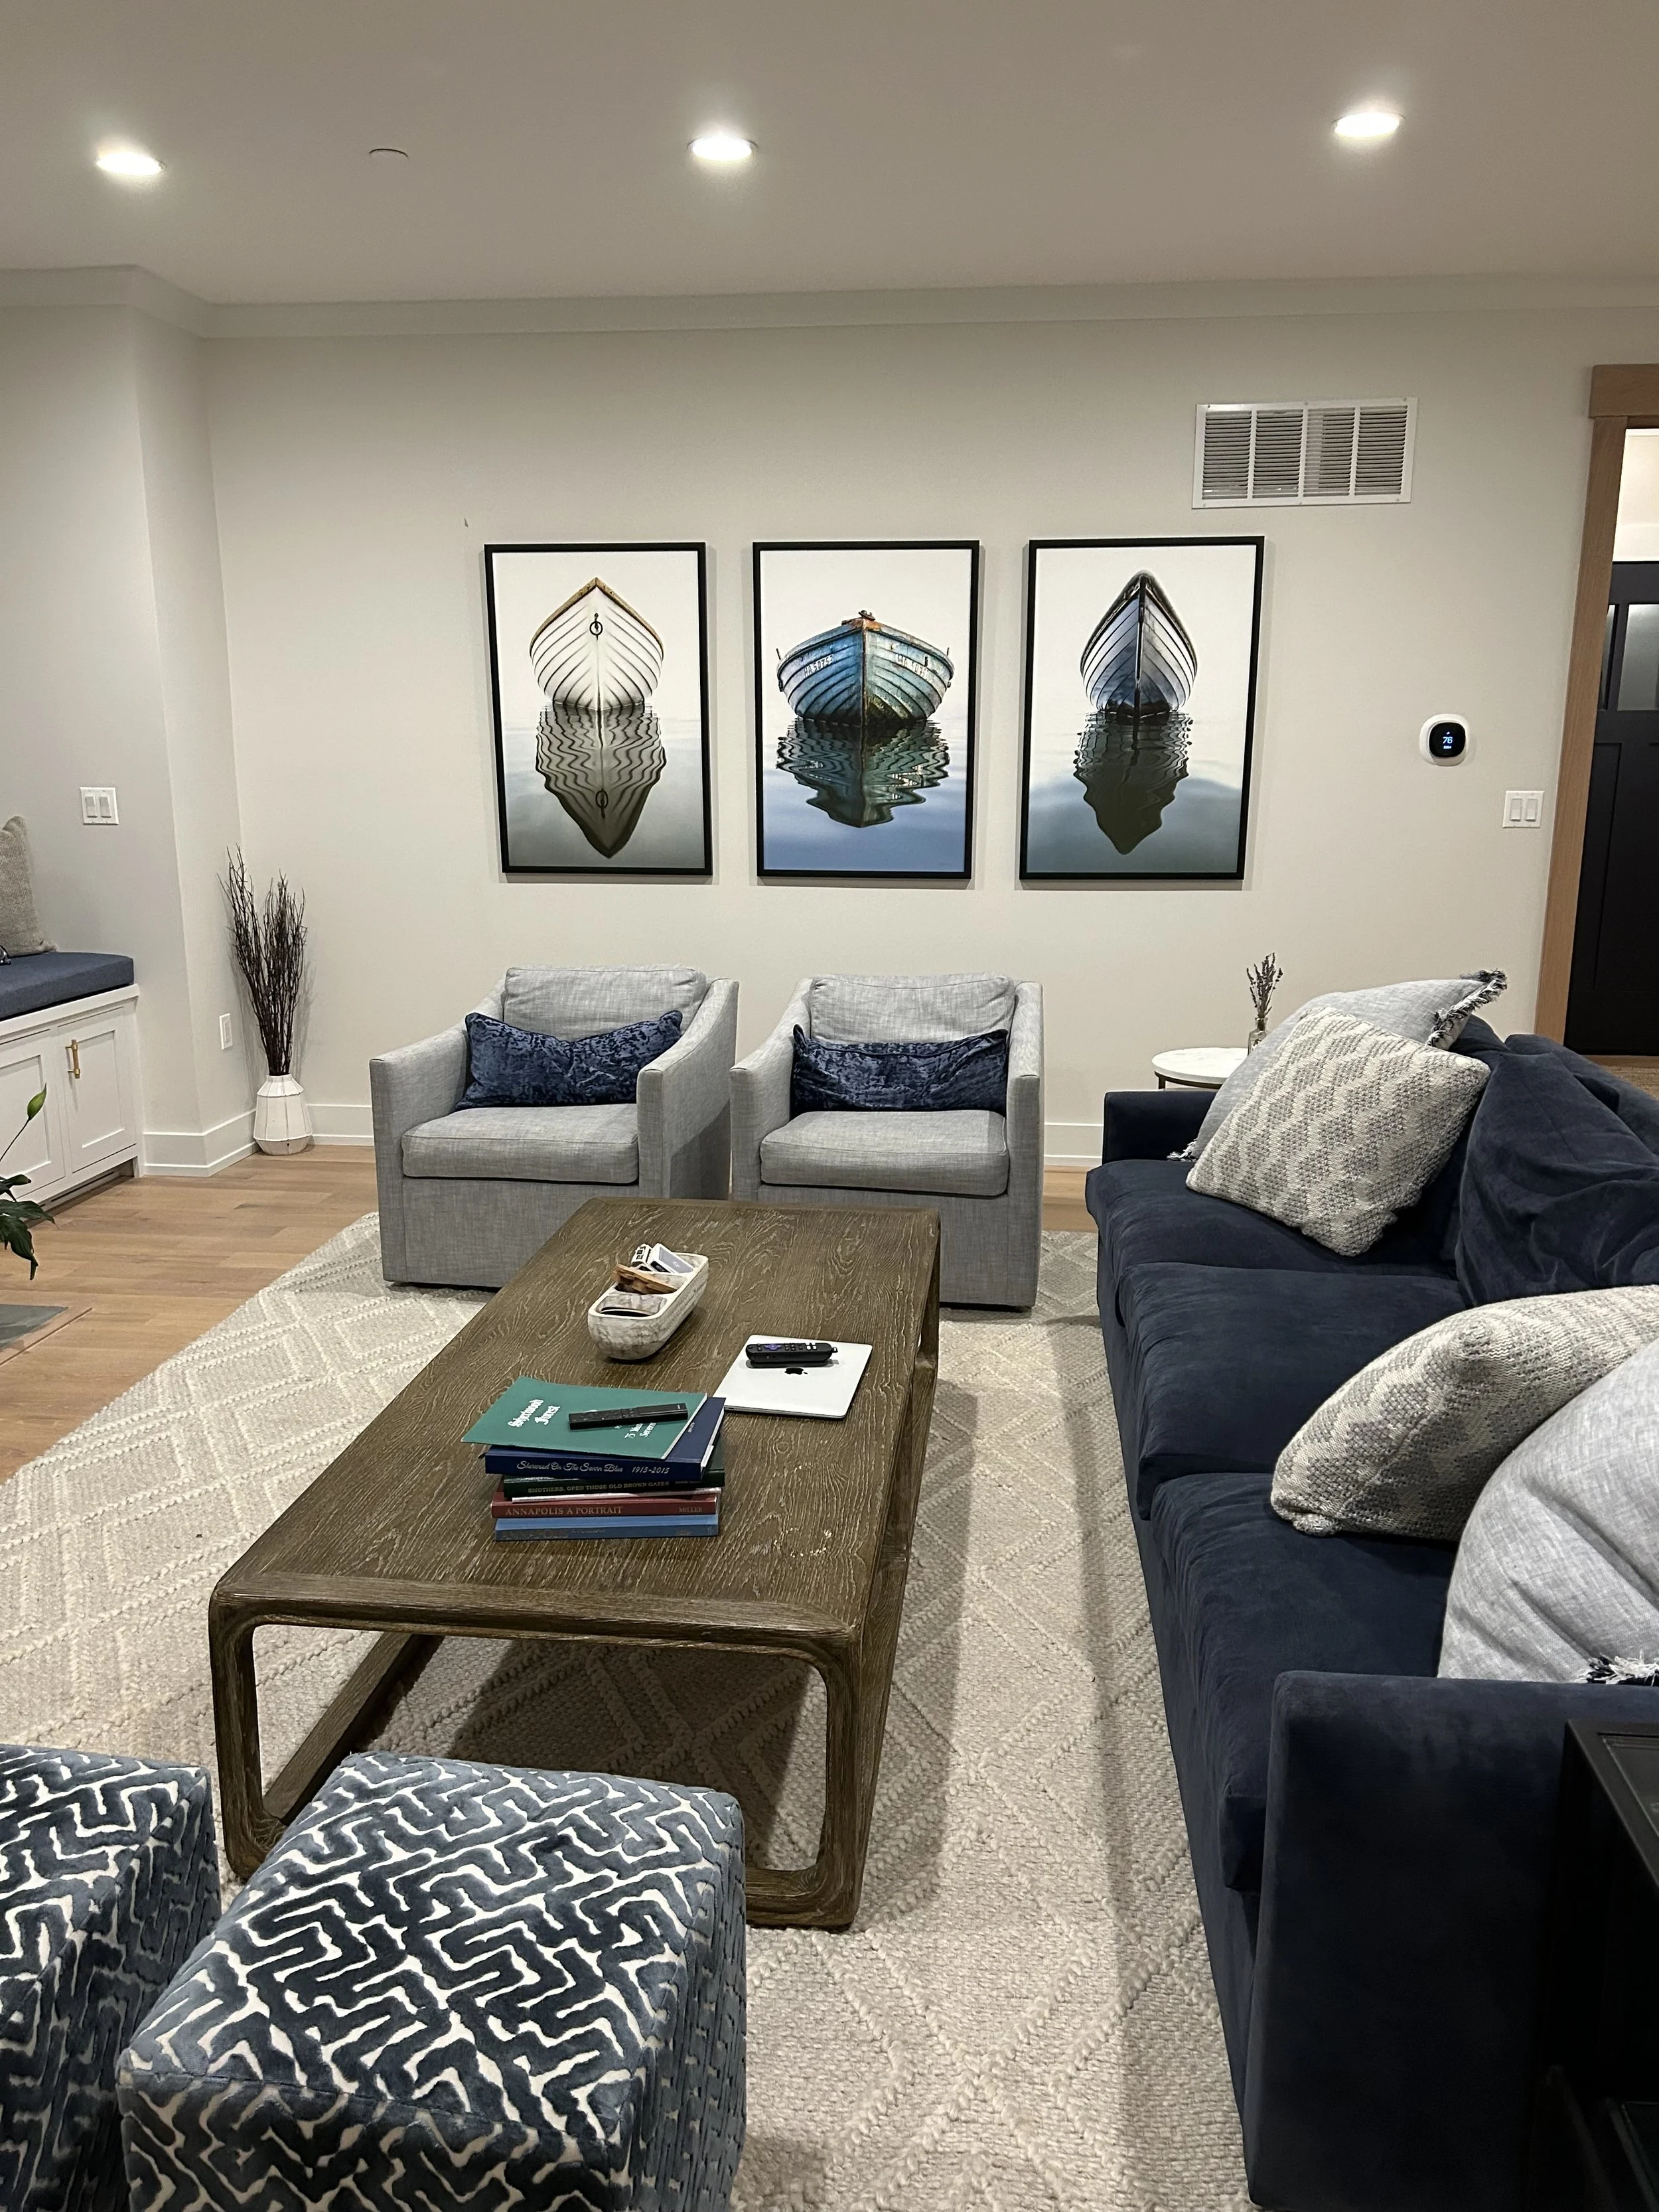
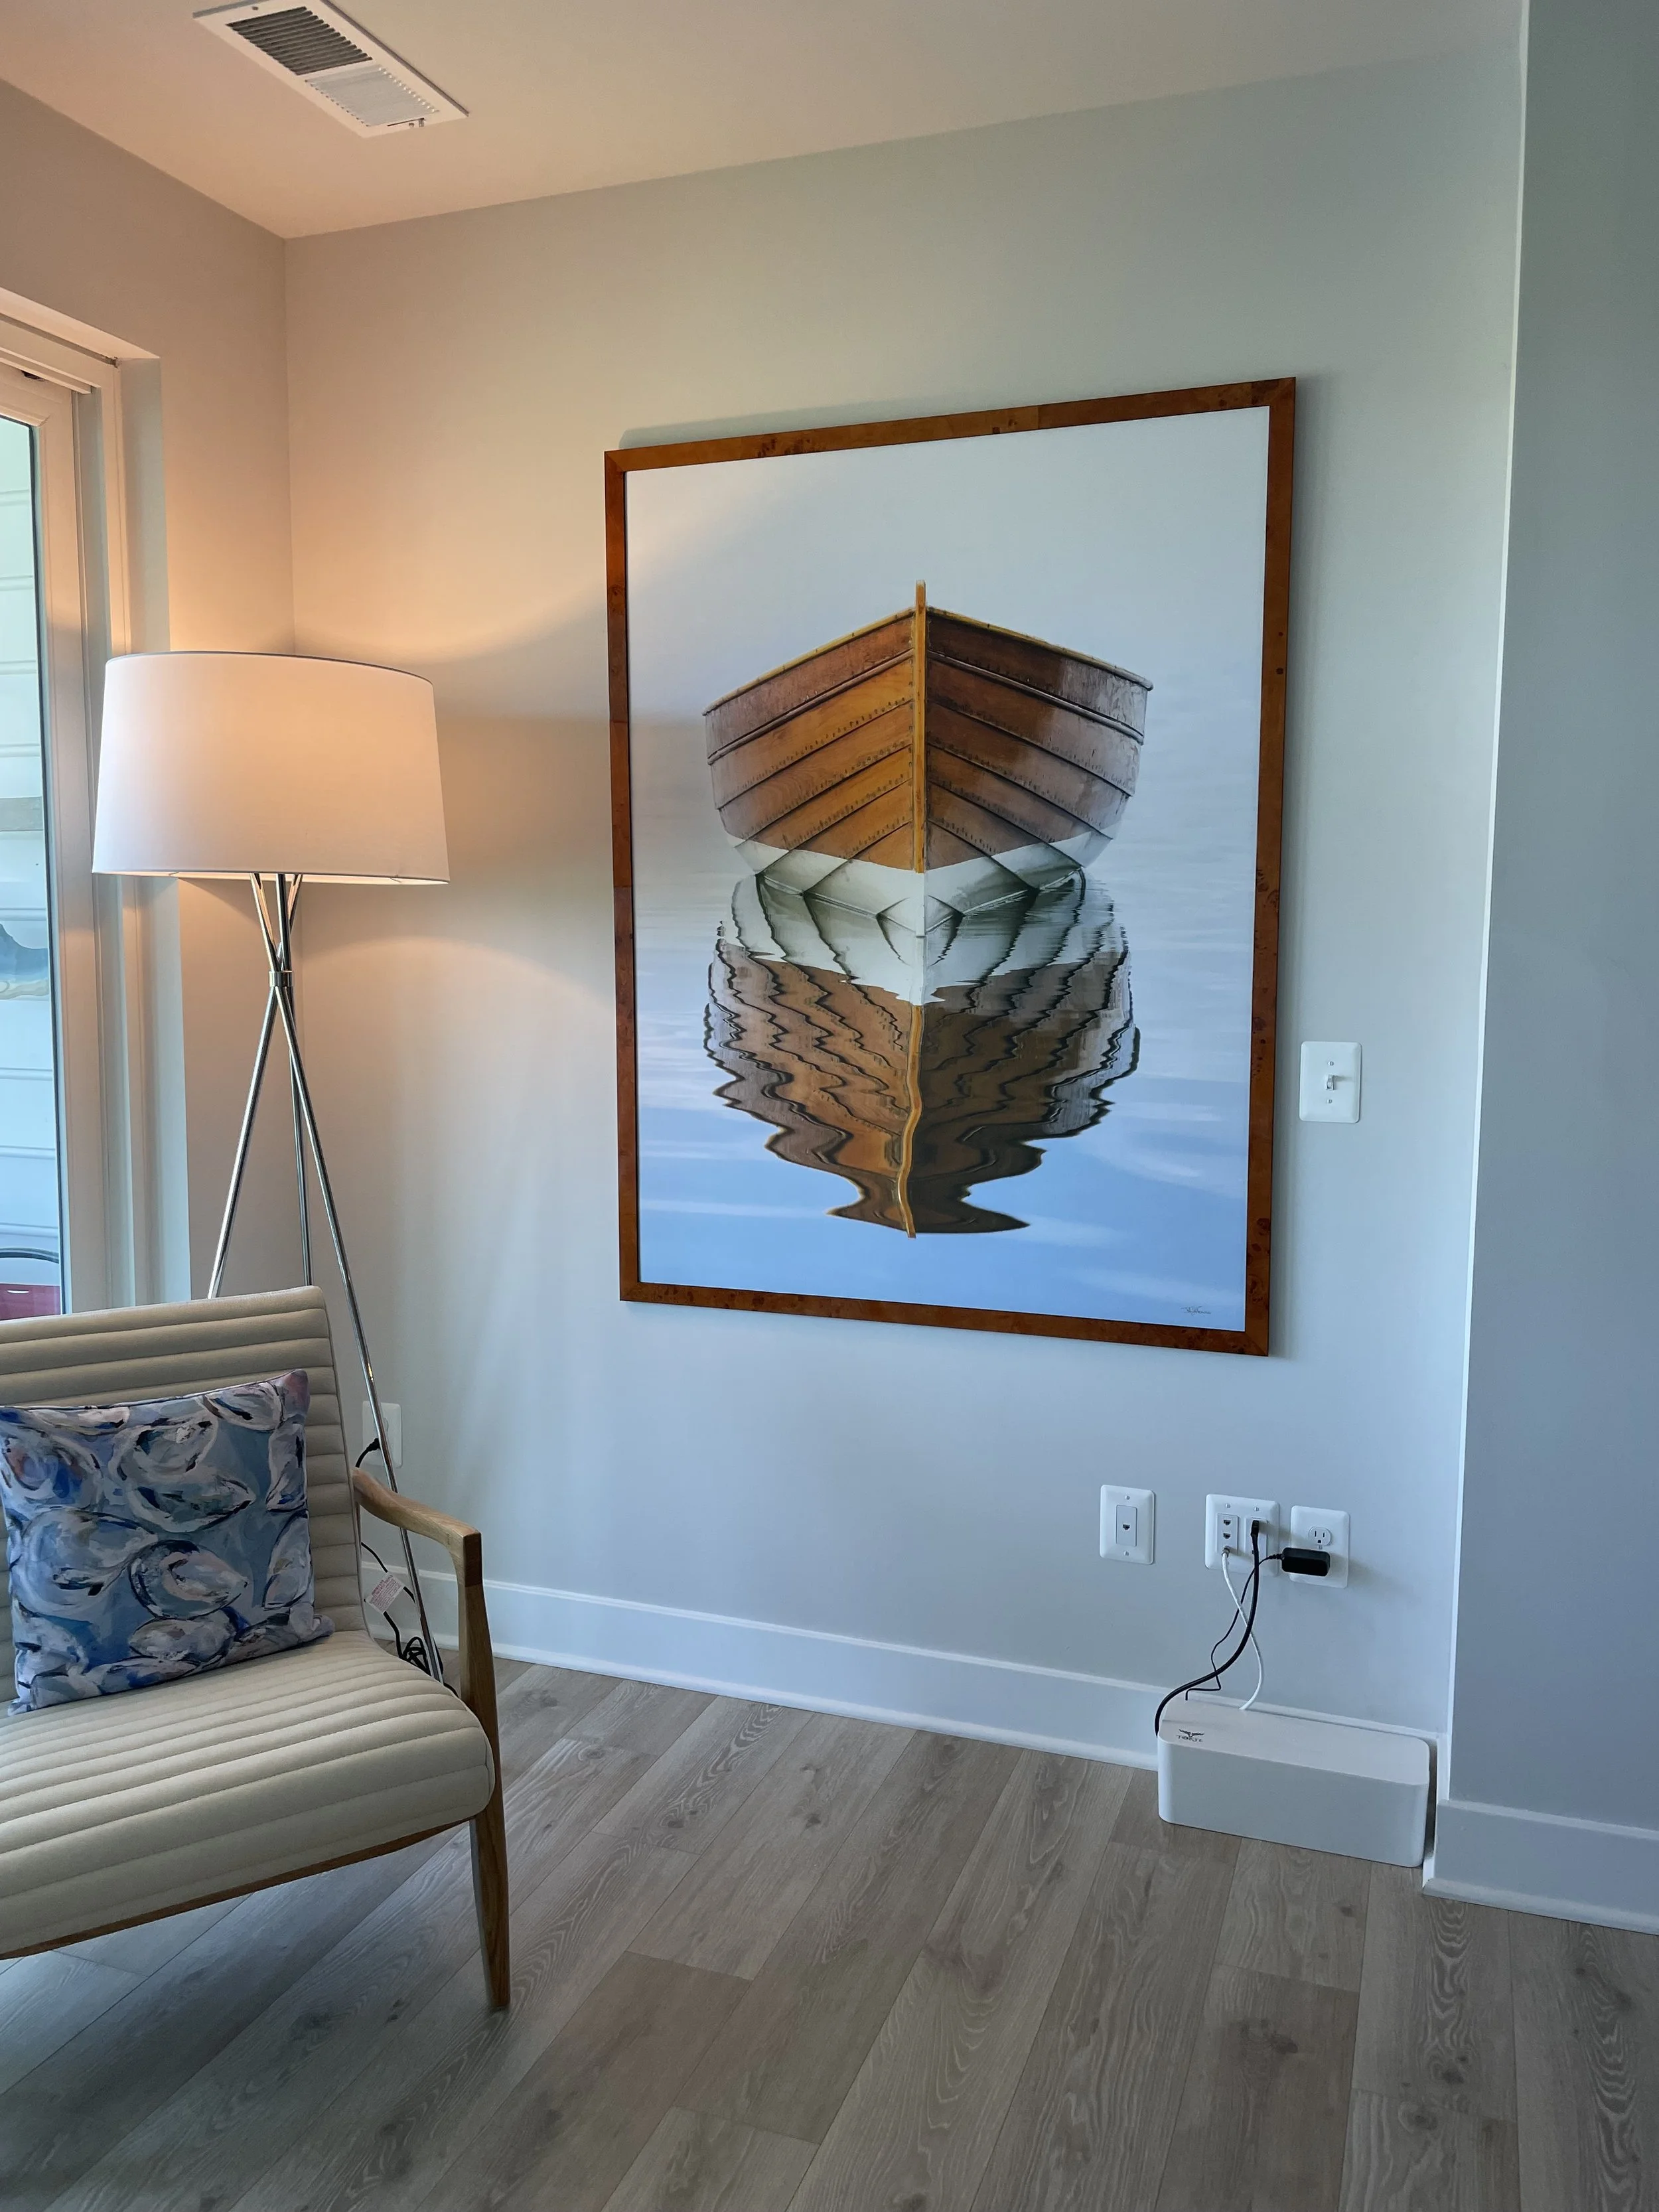
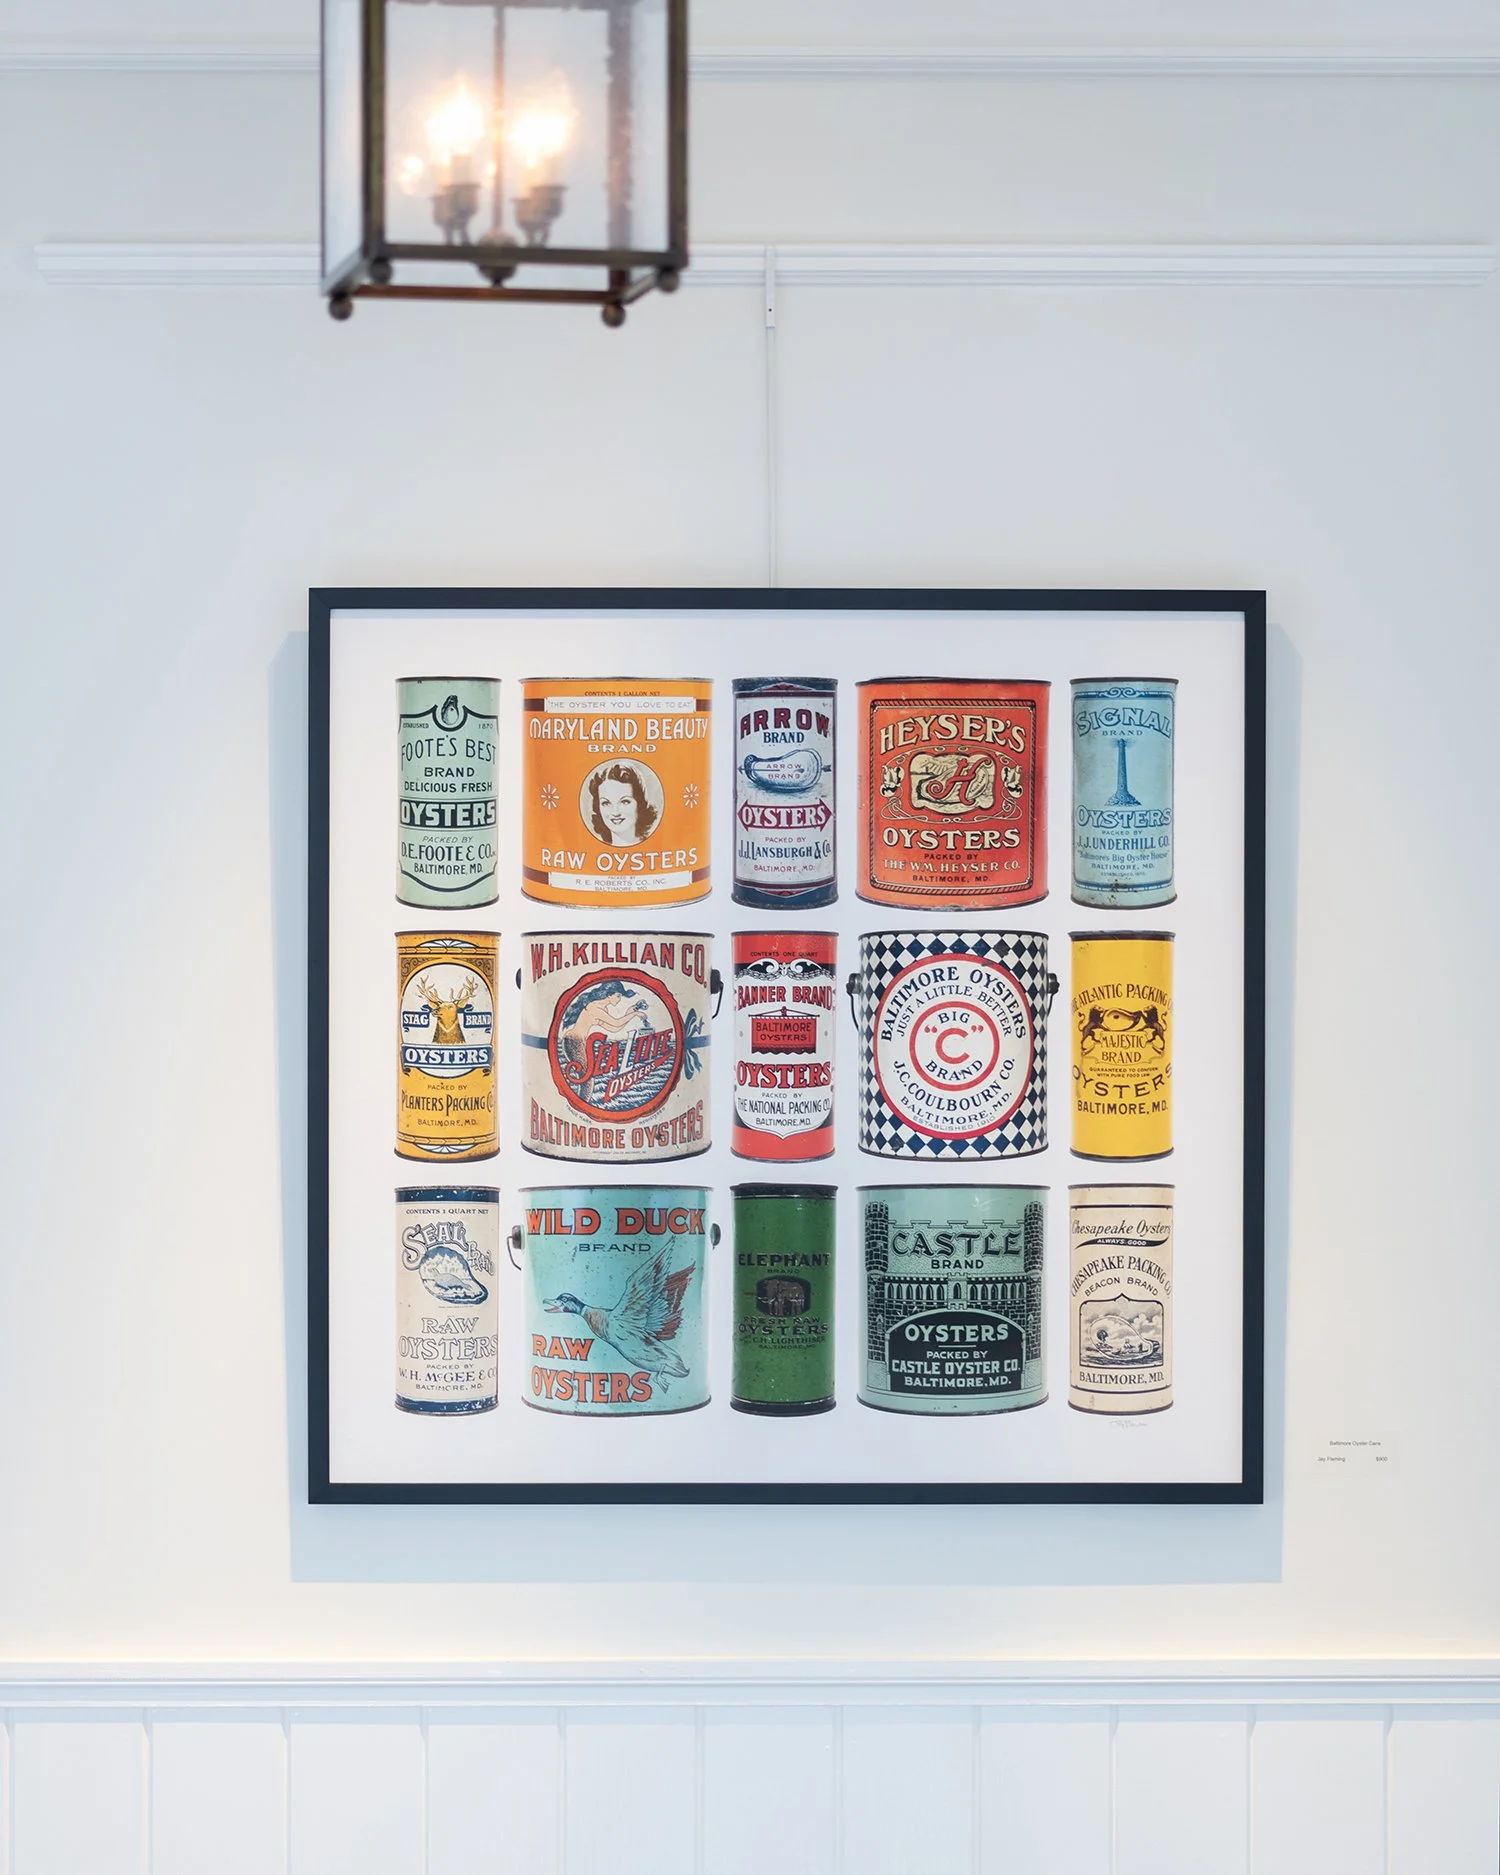
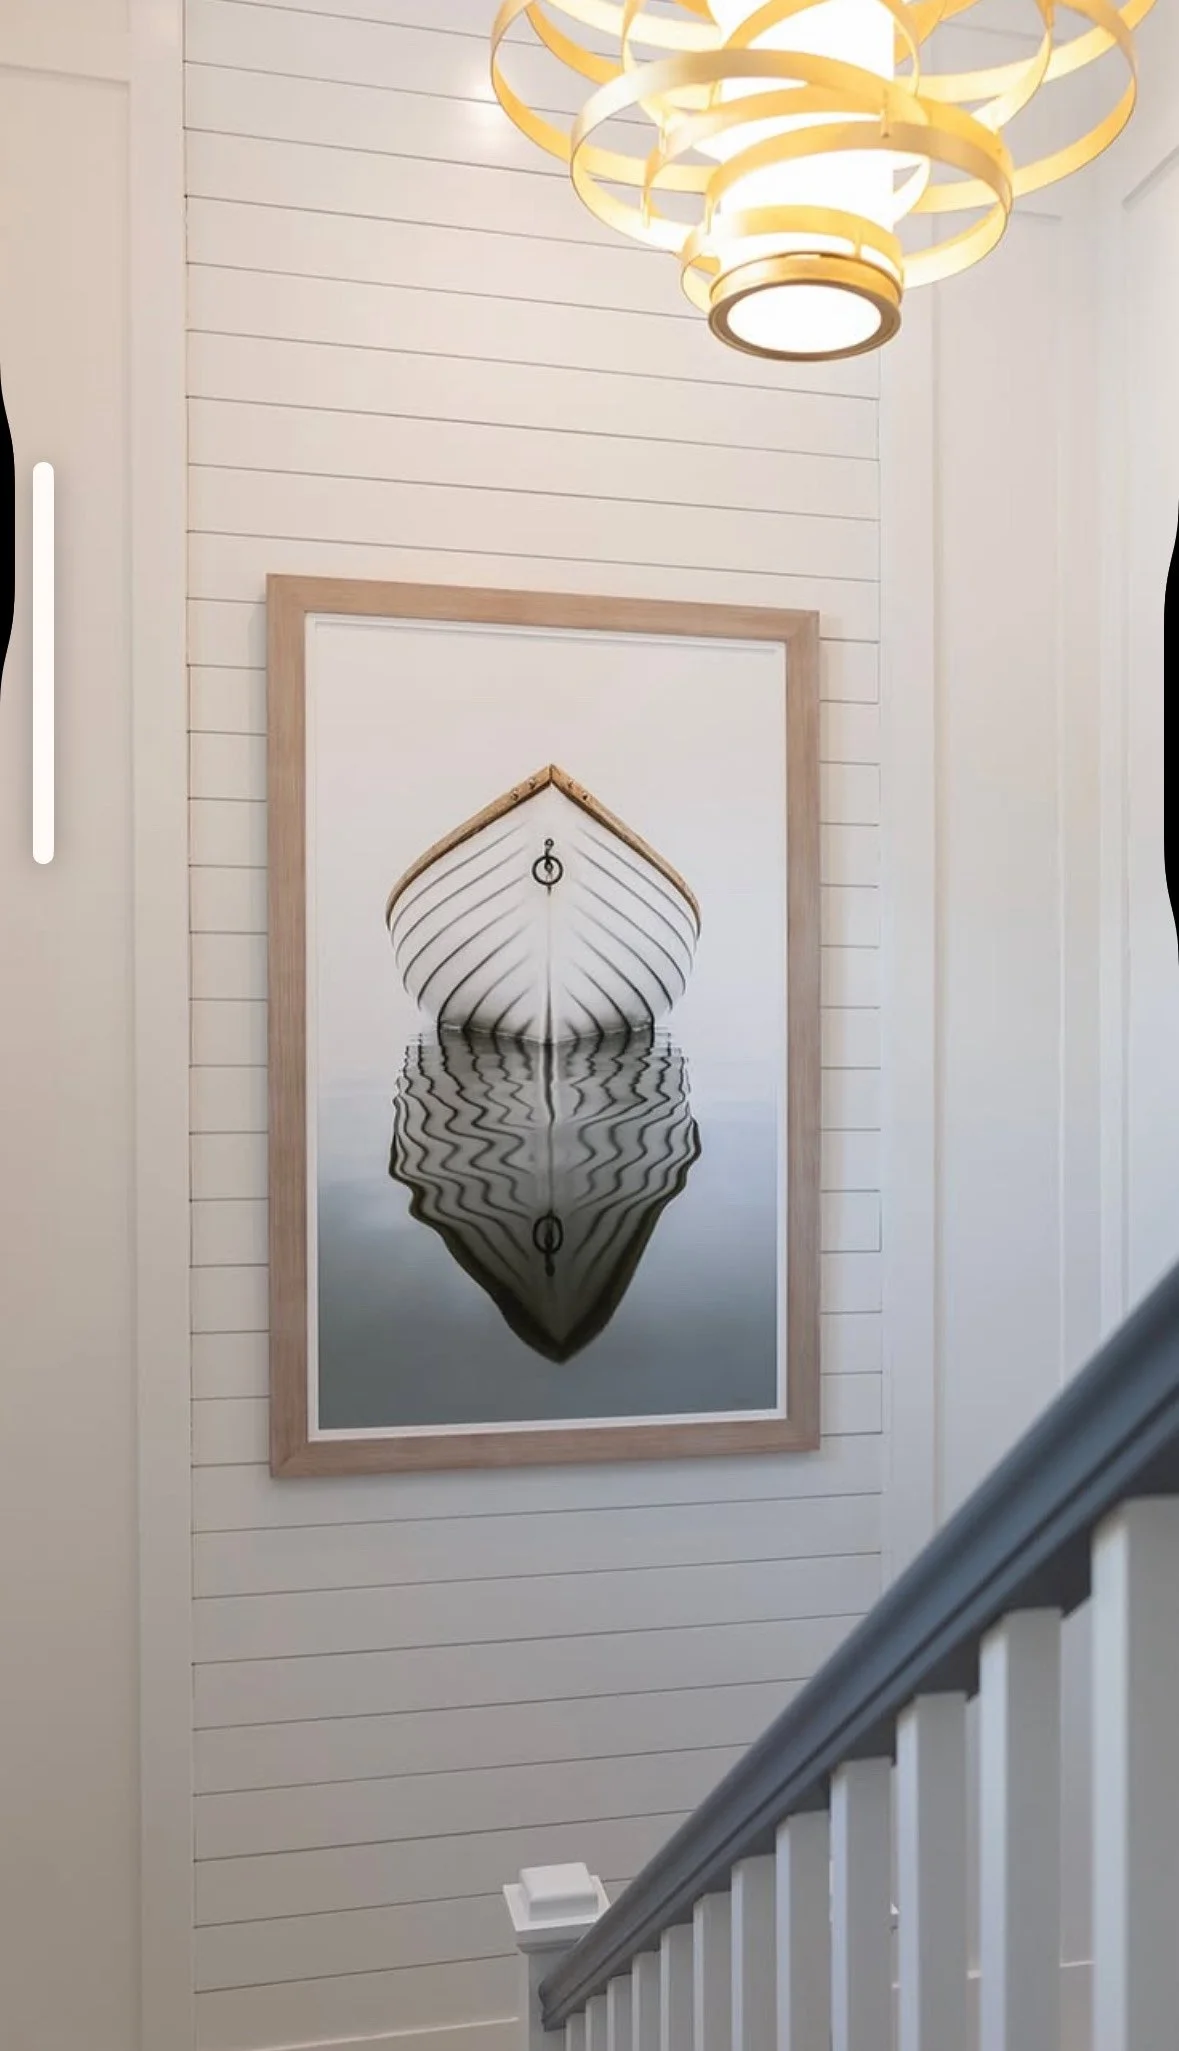
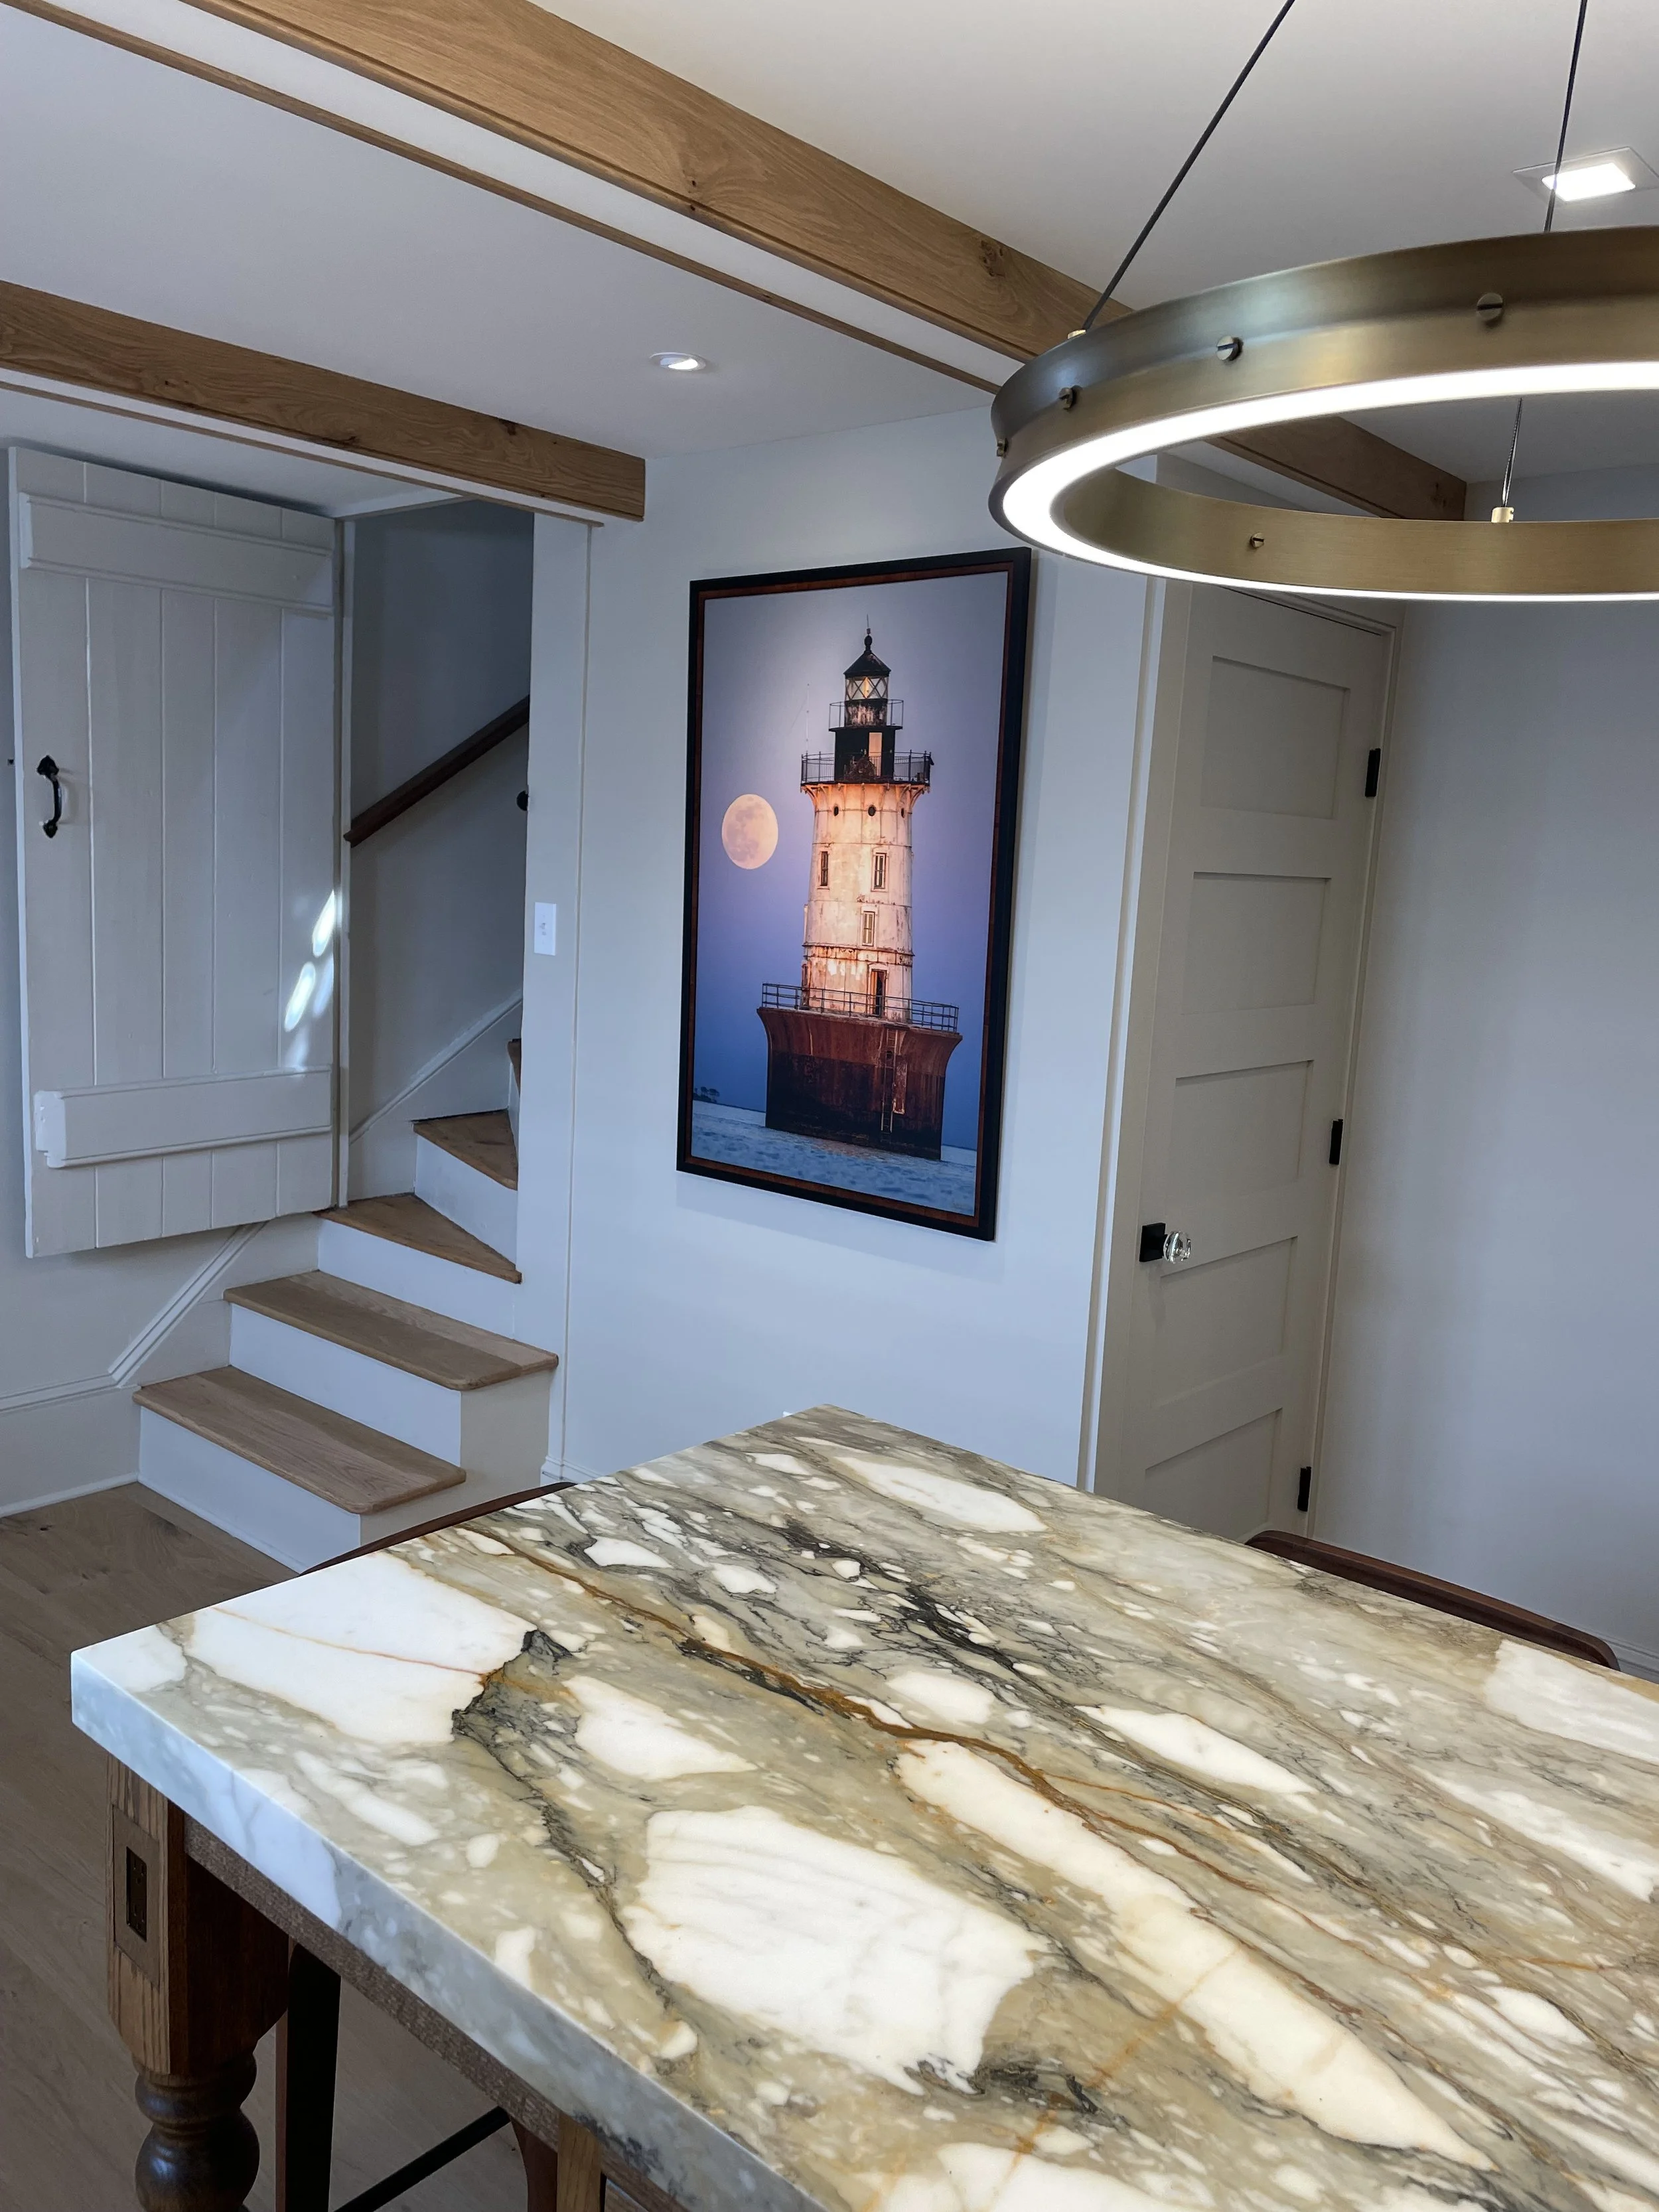
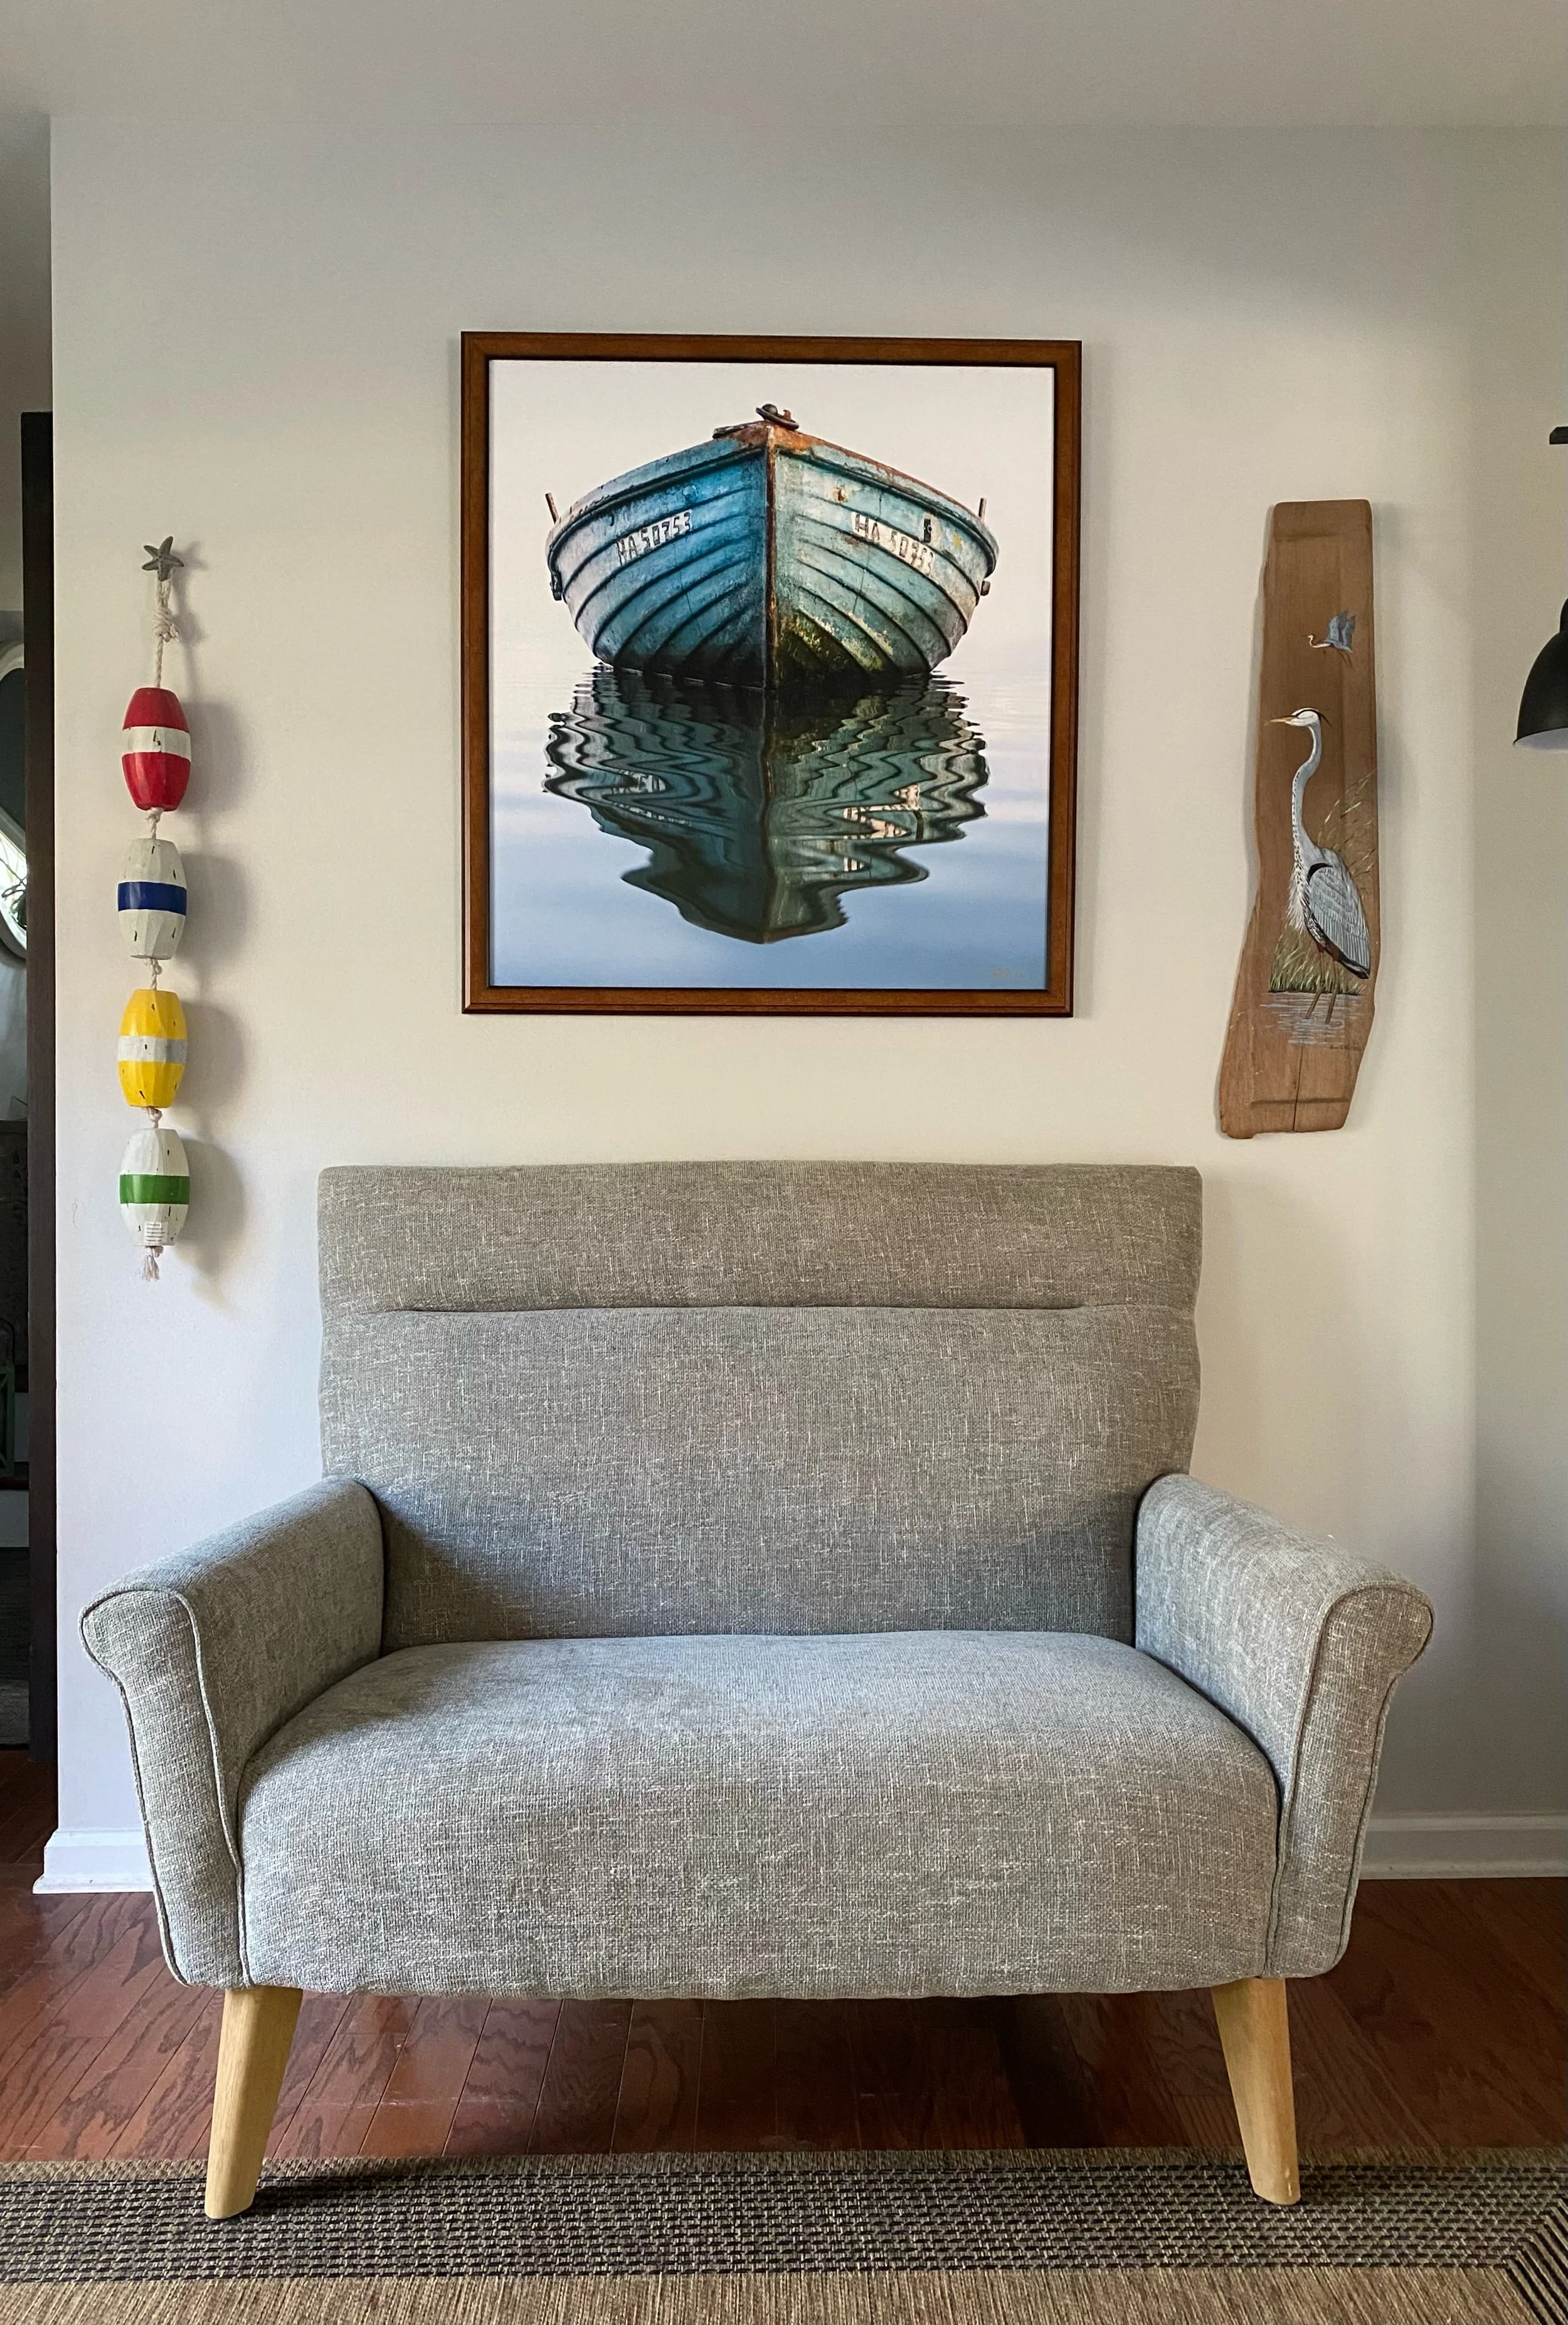
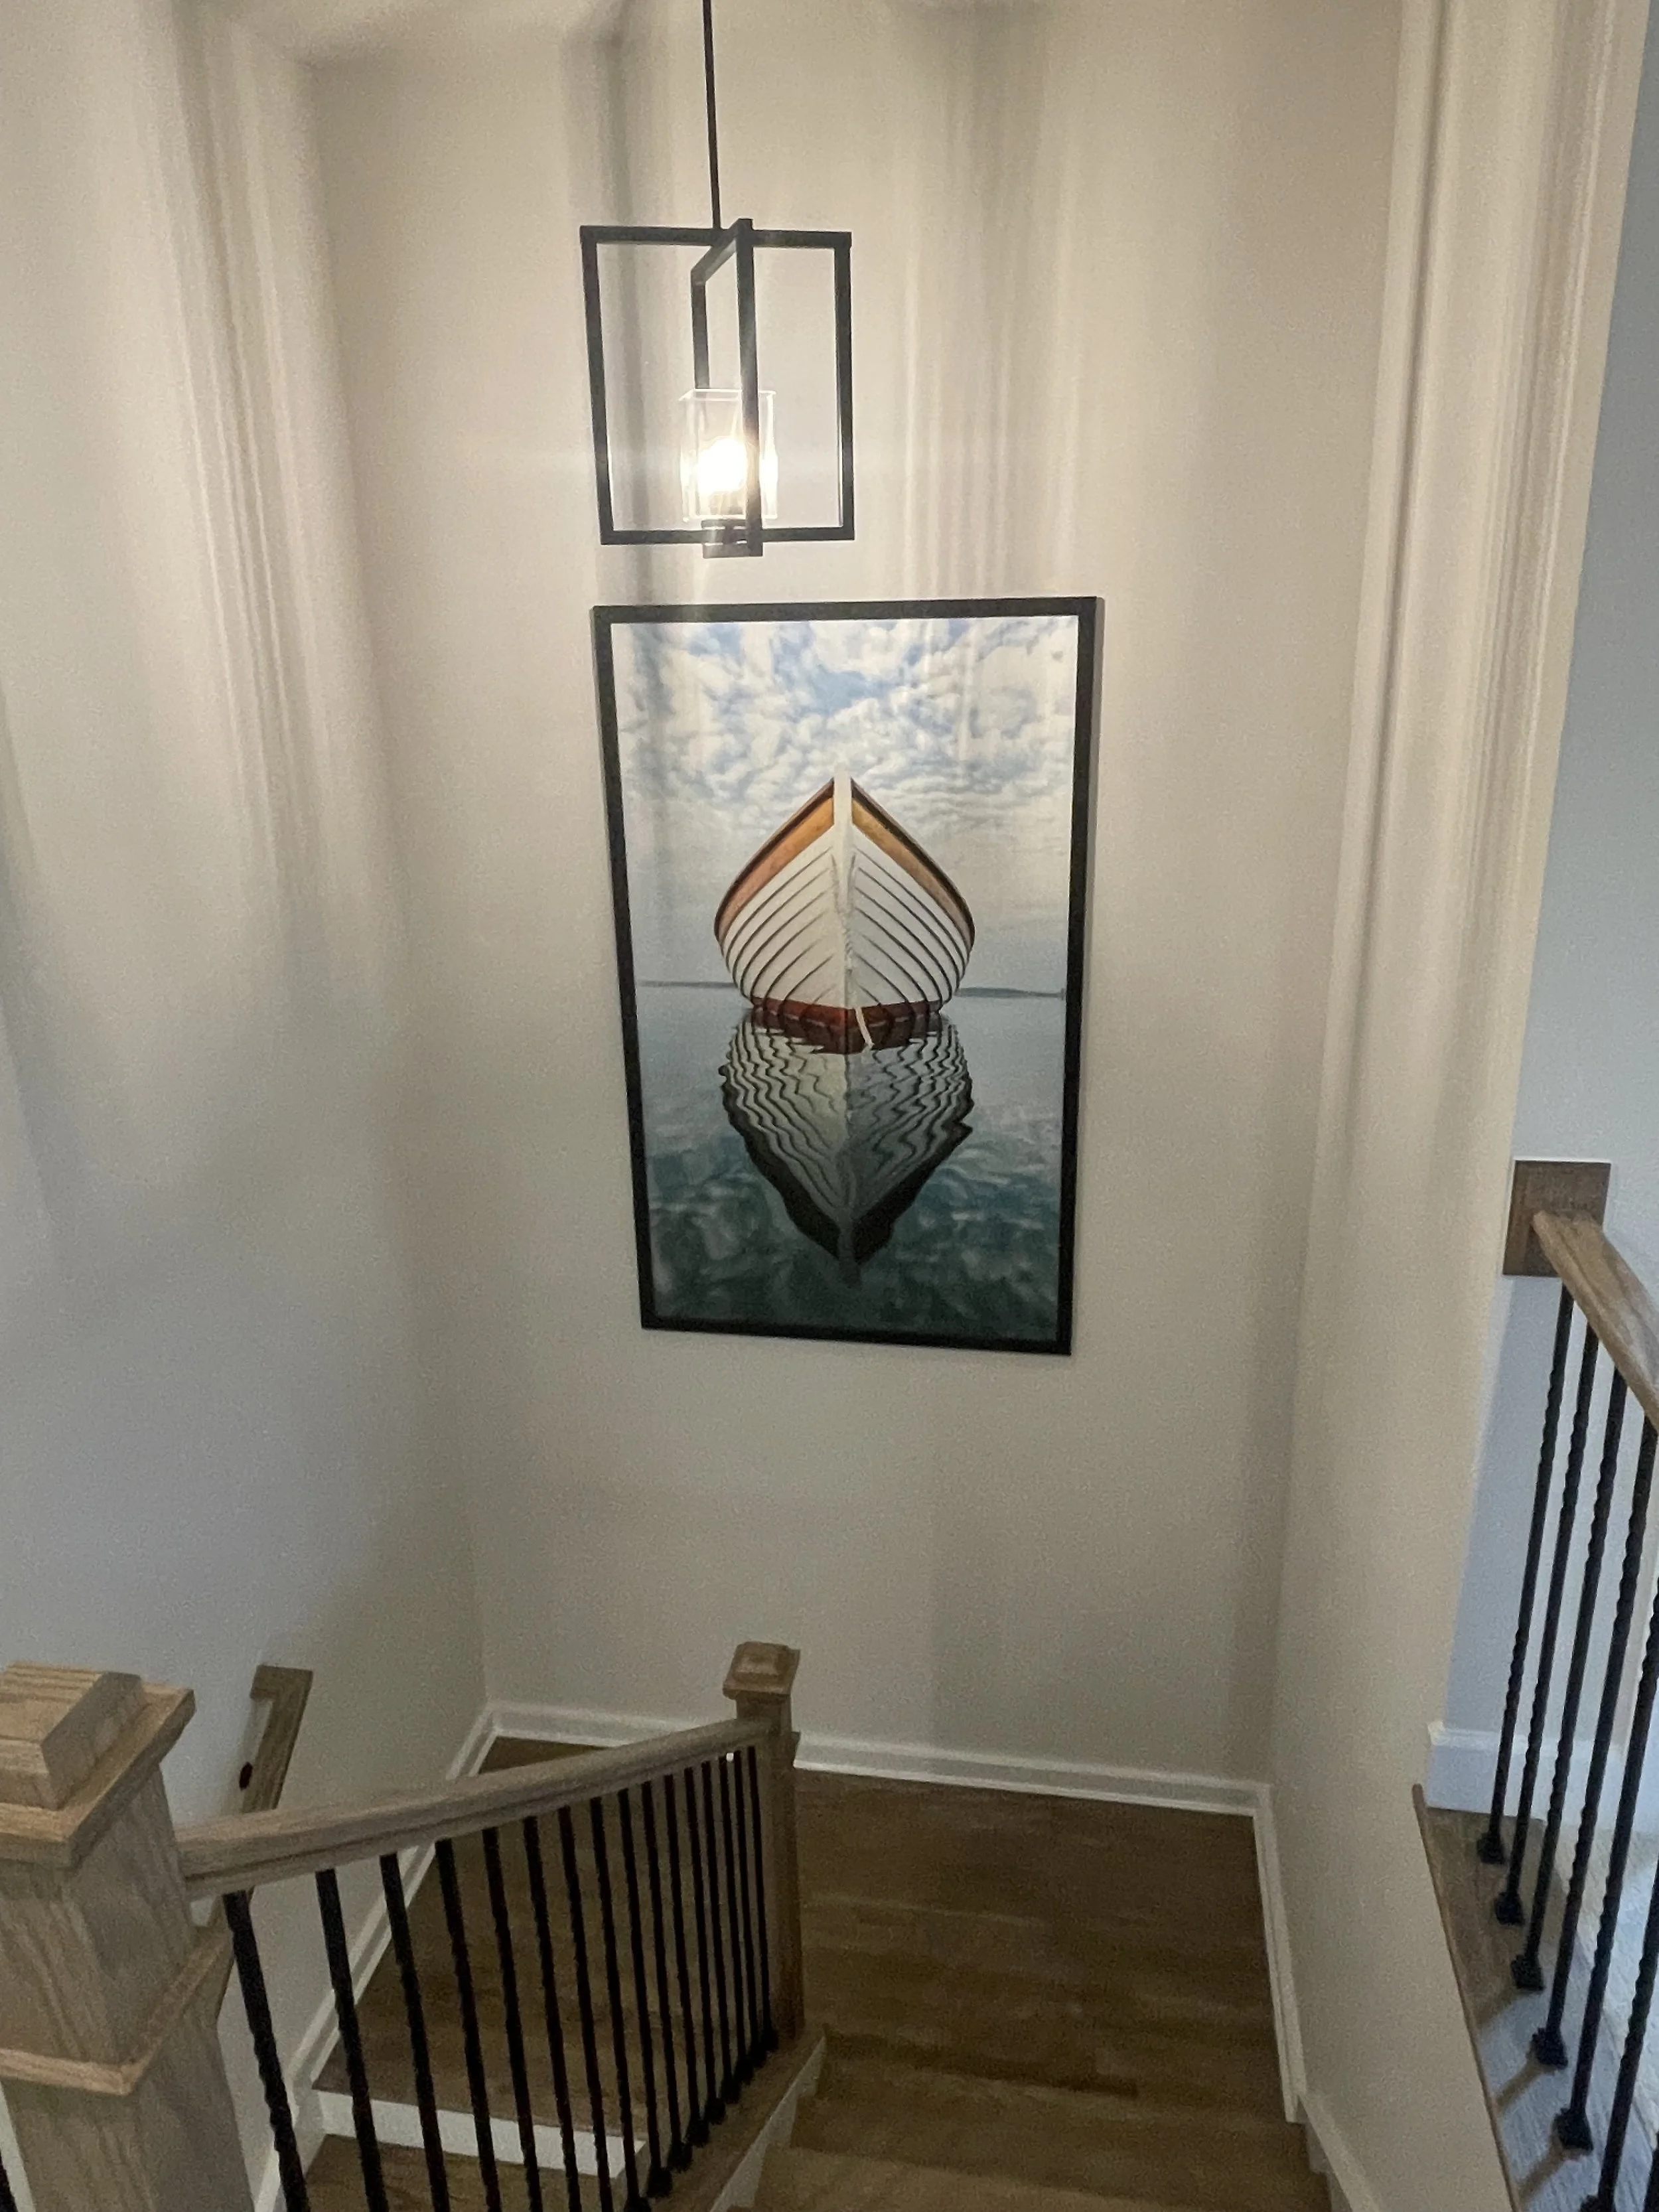
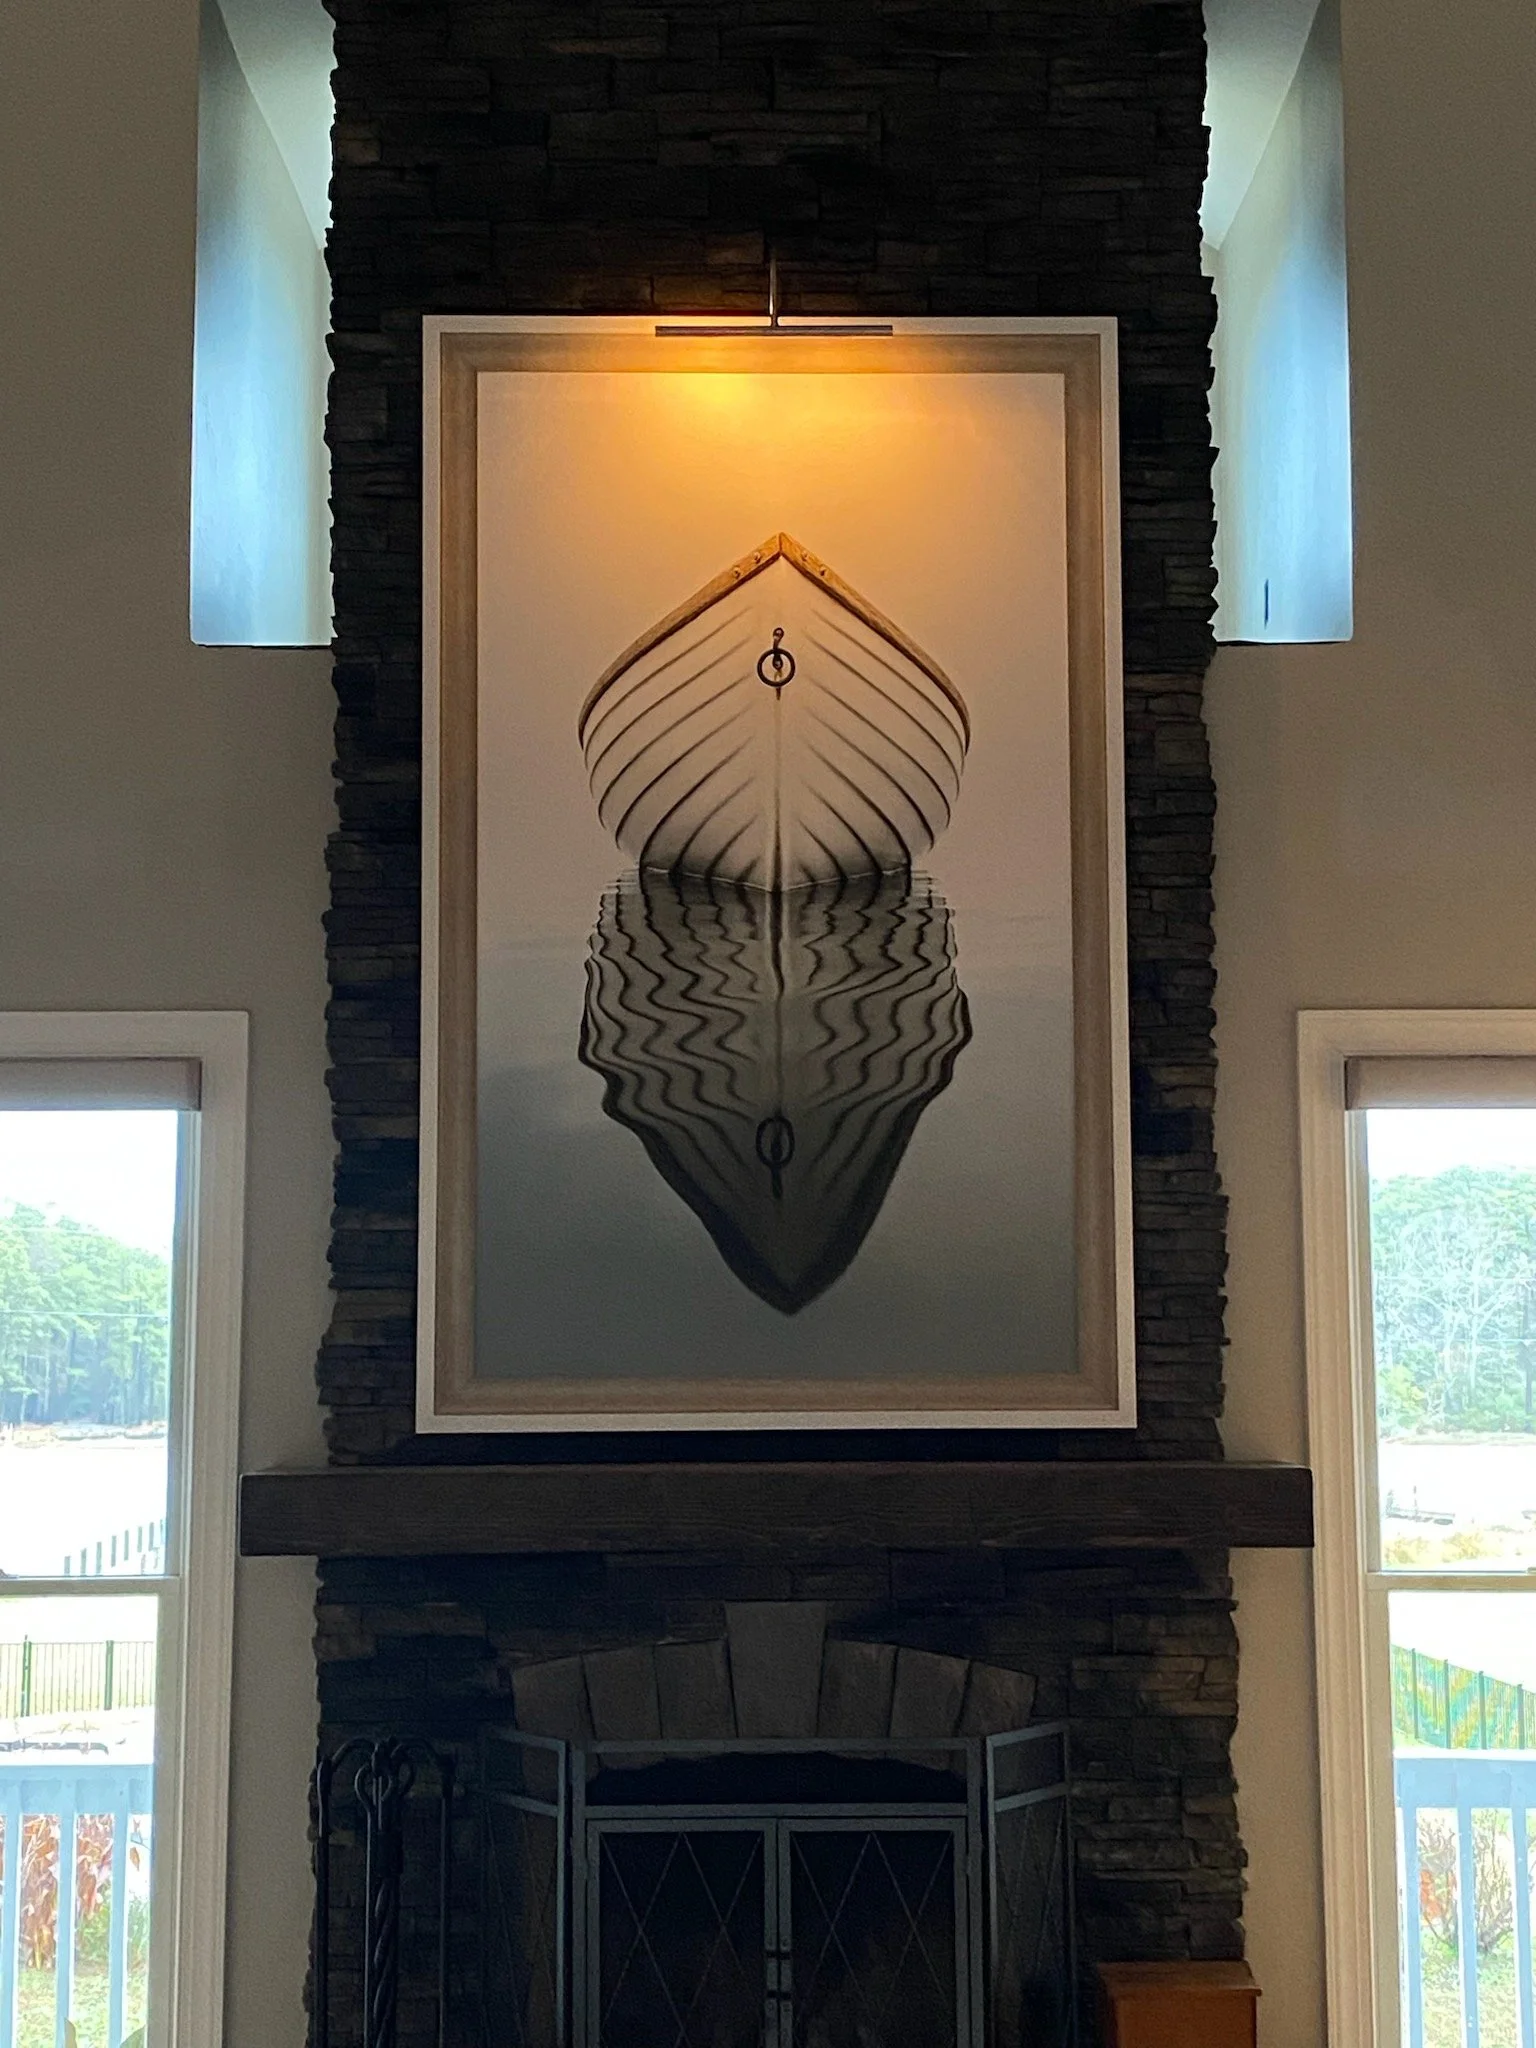
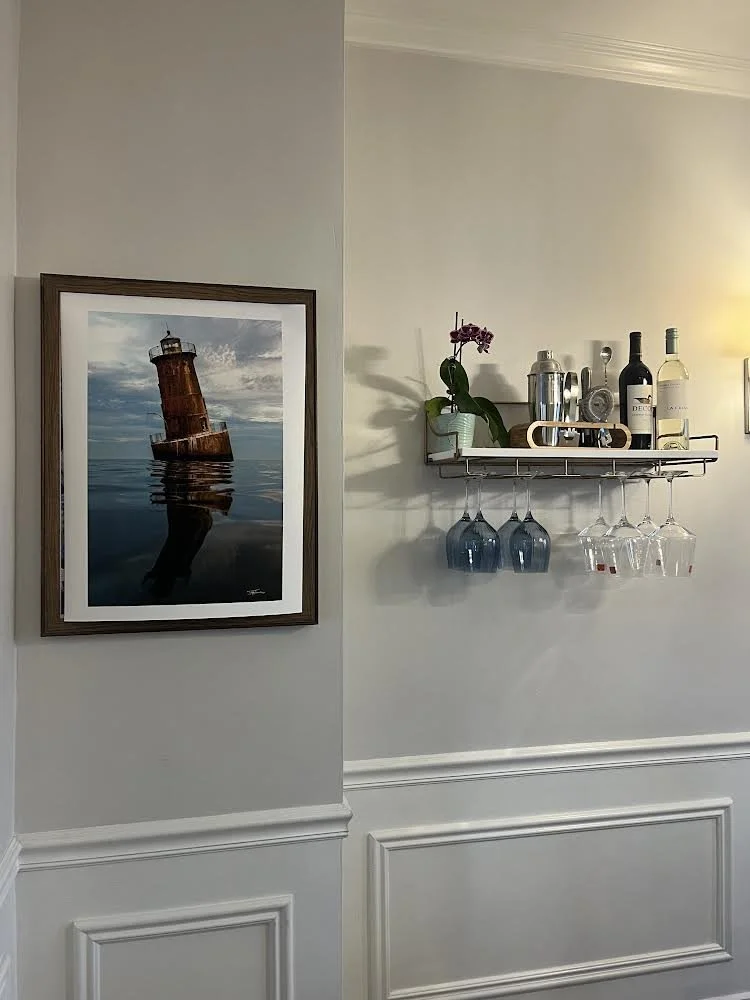
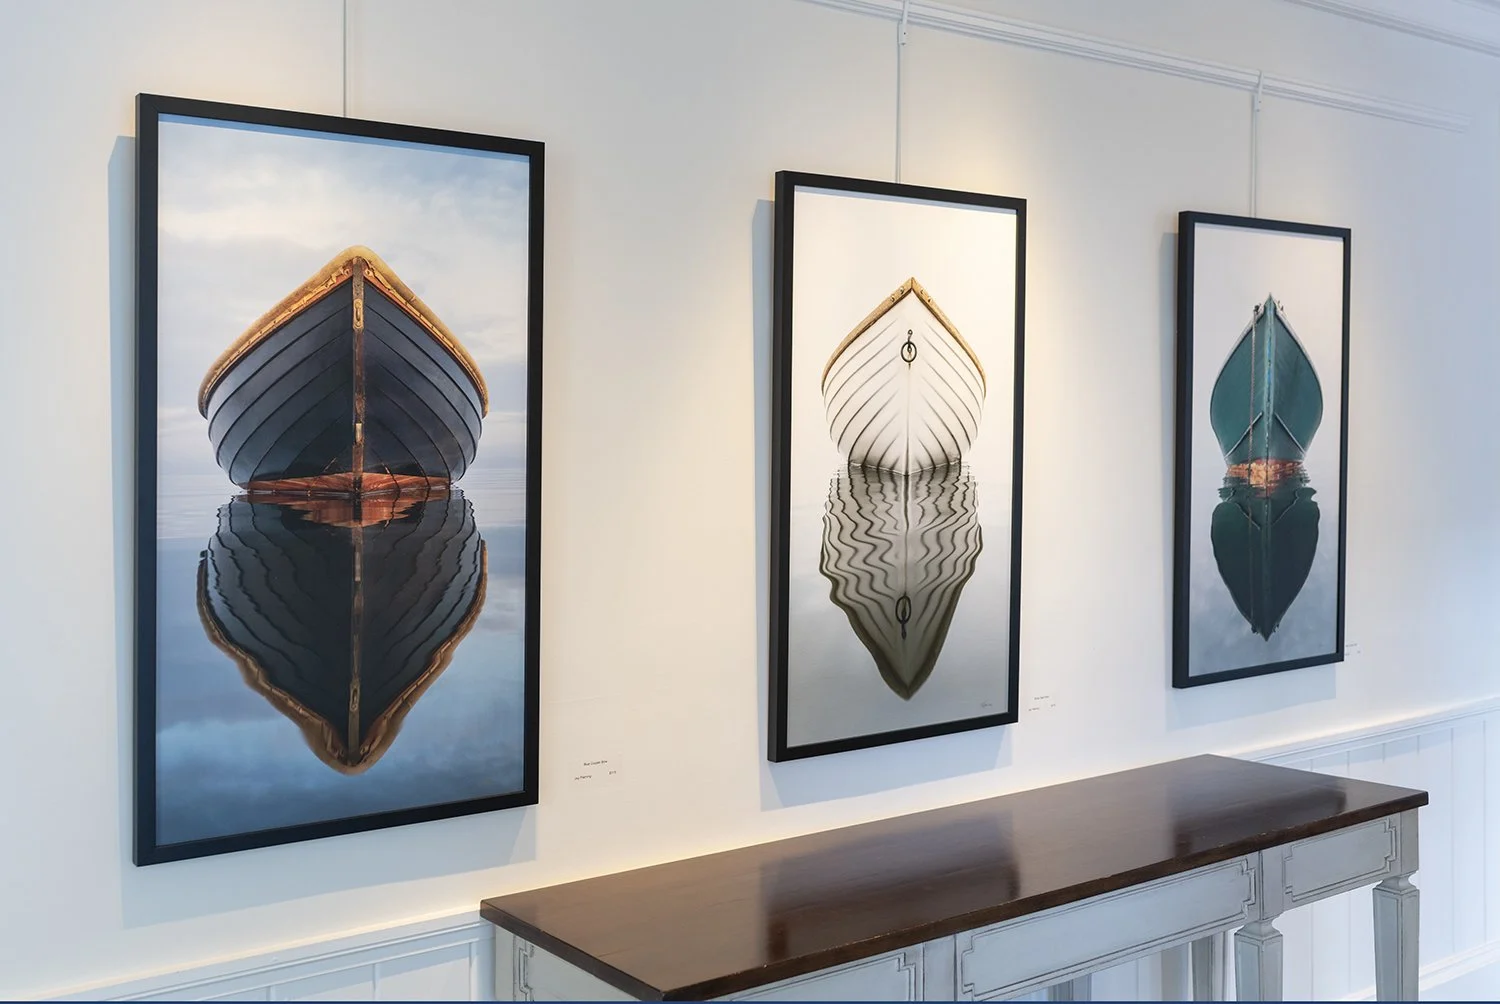
Enter your wall size and the print sizes you’re considering, and the planner draws everything to scale. Compare a single statement piece with a set, and browse the gallery below for ideas from collectors’ homes and spaces. You can also drag pieces around for a gallery wall, plan around a sofa or console, and download both layouts with all the measurements.
Once you’ve found the right fit, visit the shop to order. For custom prints and framing options, email me or set up an appointment to visit the studio and see everything in person.
How to use the planner
Enter your wall’s width and height in inches.
Enter the size of each print. Tap “+ Add a piece” to add more. Check “Framed” to allow about 2 inches of frame on every side. Switch between Vertical and Horizontal, or tap the rotate button to turn a single piece.
Use the sliders to adjust spacing and height, or drag pieces anywhere on the wall.
Hanging over a sofa, bed or console? Check “Plan around furniture.”
Compare Layout A and B, then tap “Download my layouts” to save your plan with all the measurements.
Your wall
Your art
Adds about 2″ on every side for the frame. Frame sizes vary, so treat this as an estimate.
Spacing starts at 4″ for smaller pieces and 5″ for larger ones. The art starts centered 57″ from the floor, the gallery standard, or about 9″ above furniture.